How to Arrange a TNT Pickup: Step-by-Step Guide for Shipping with TNT Australia
Learn how to book a TNT pickup using TNT Online for sending parcels within Australia. This guide covers logging in, creating shipments, choosing delivery options, printing labels, and best practices for cost-effective shipping.
In this guide, we'll learn how to arrange a TNT pickup for sending samples domestically using the TNT online platform. We will cover the steps to log in, create a shipment, select the right service, and prepare your package for collection. This process helps ensure your items are shipped correctly and reach the intended recipient in Sydney.
Let's get started
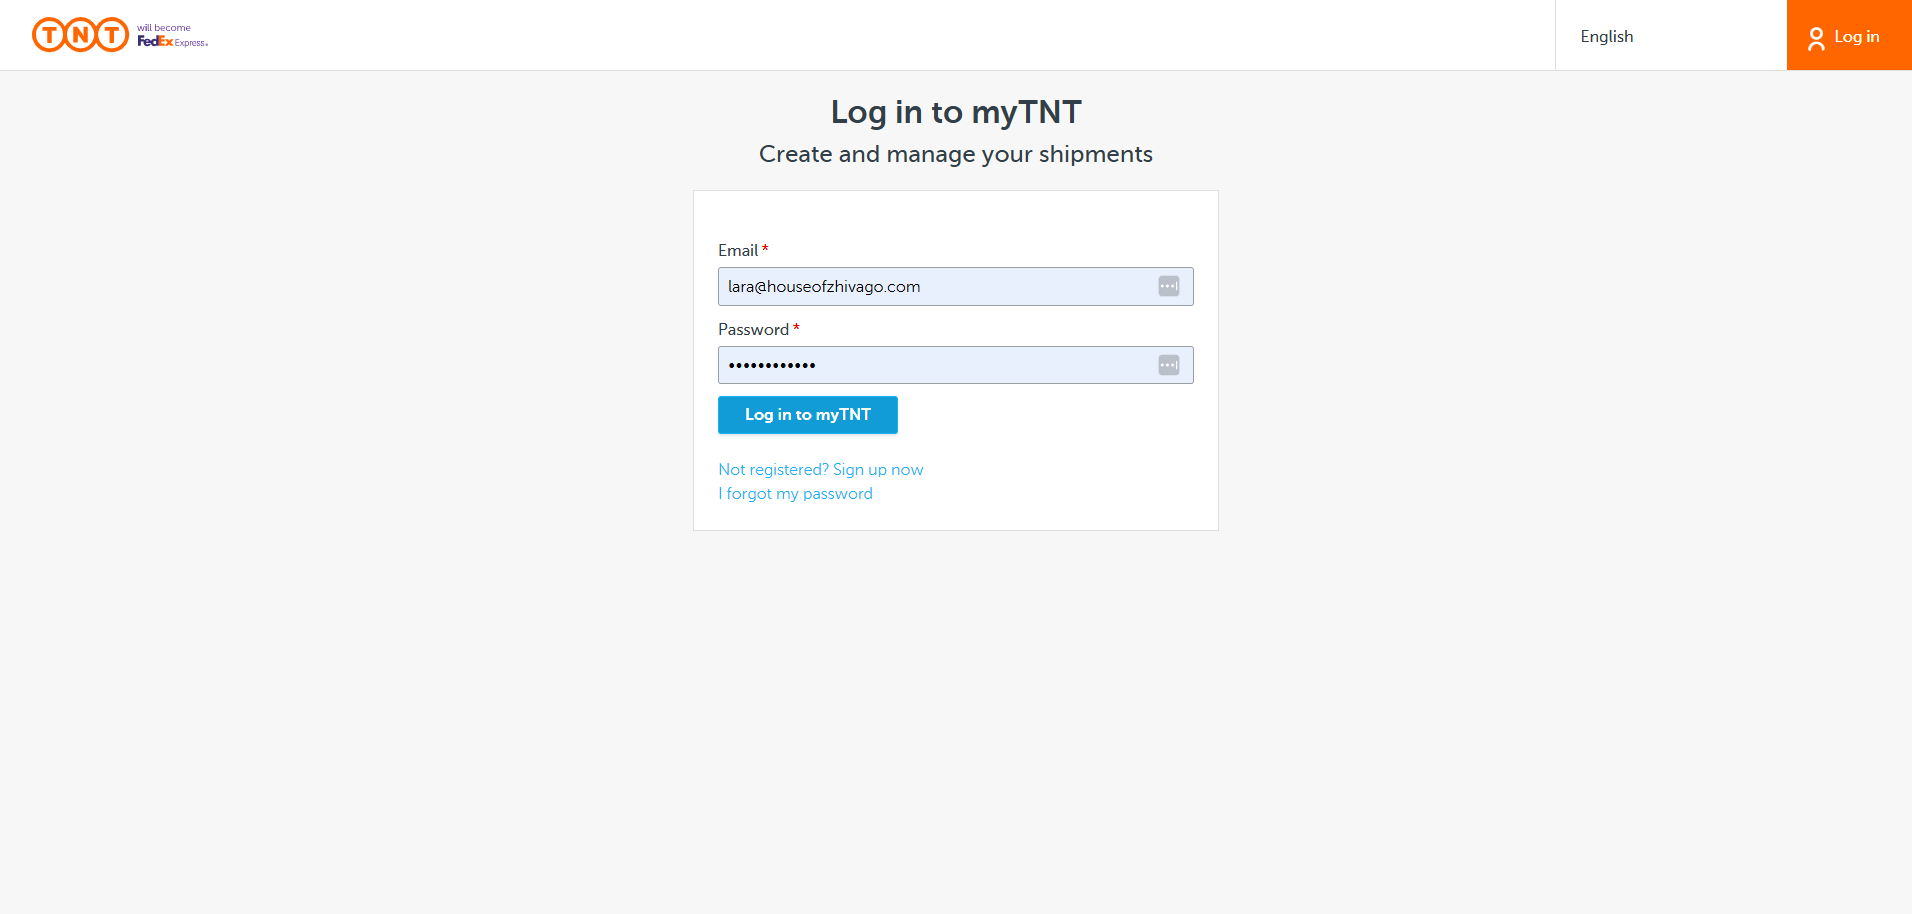
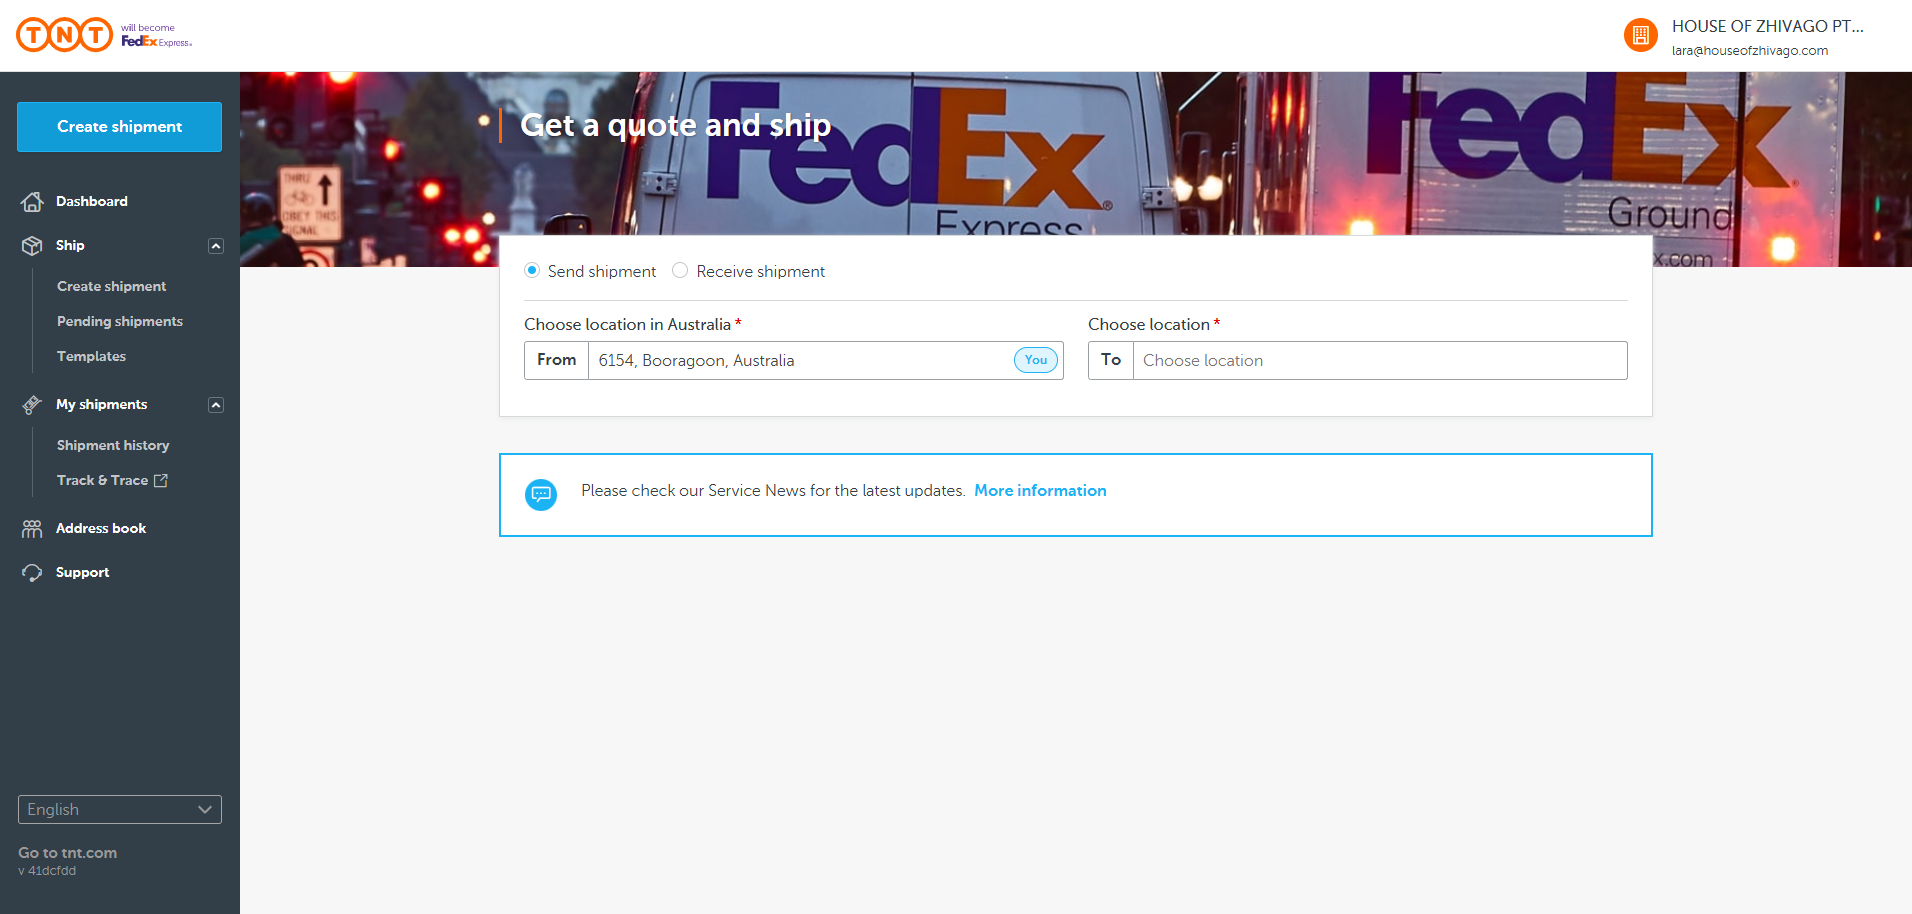
Okay. Today, we will learn how to do a TNT pickup. To start, go to TNT. Tnt.com.au. Go to TNT Online and log in.
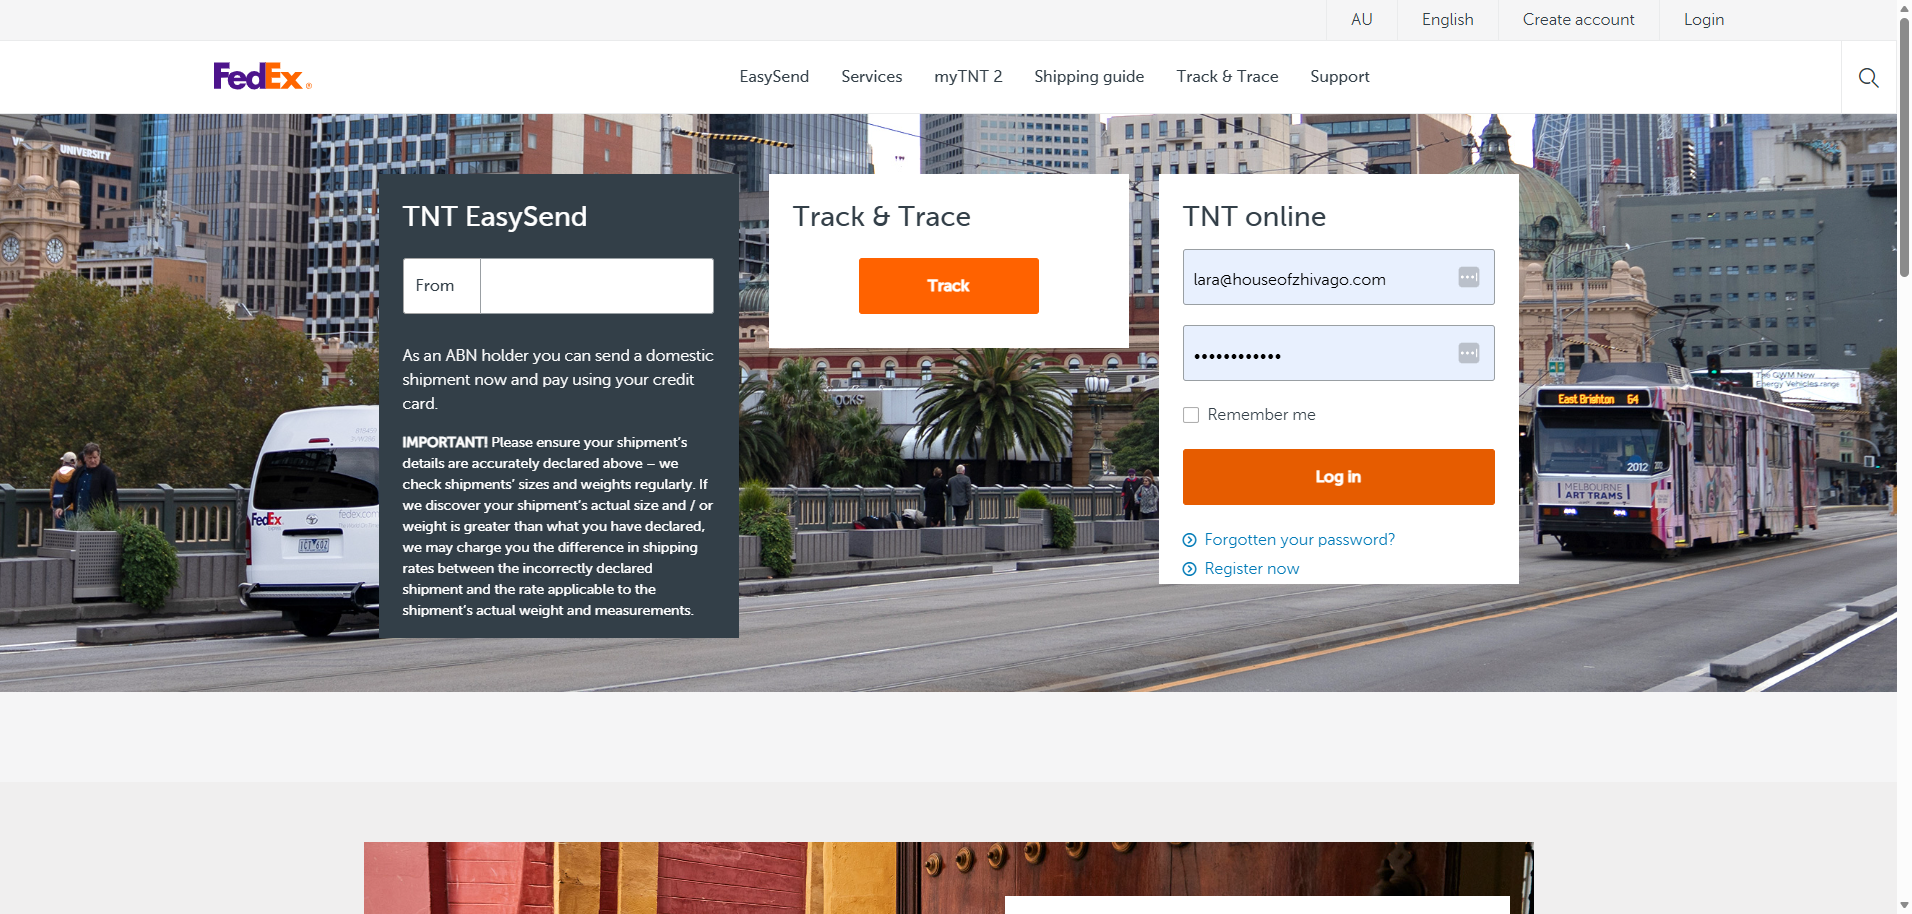
Today, we are sending samples within the country to our PR agency in Sydney. We use shipping tools by going to My TNT.
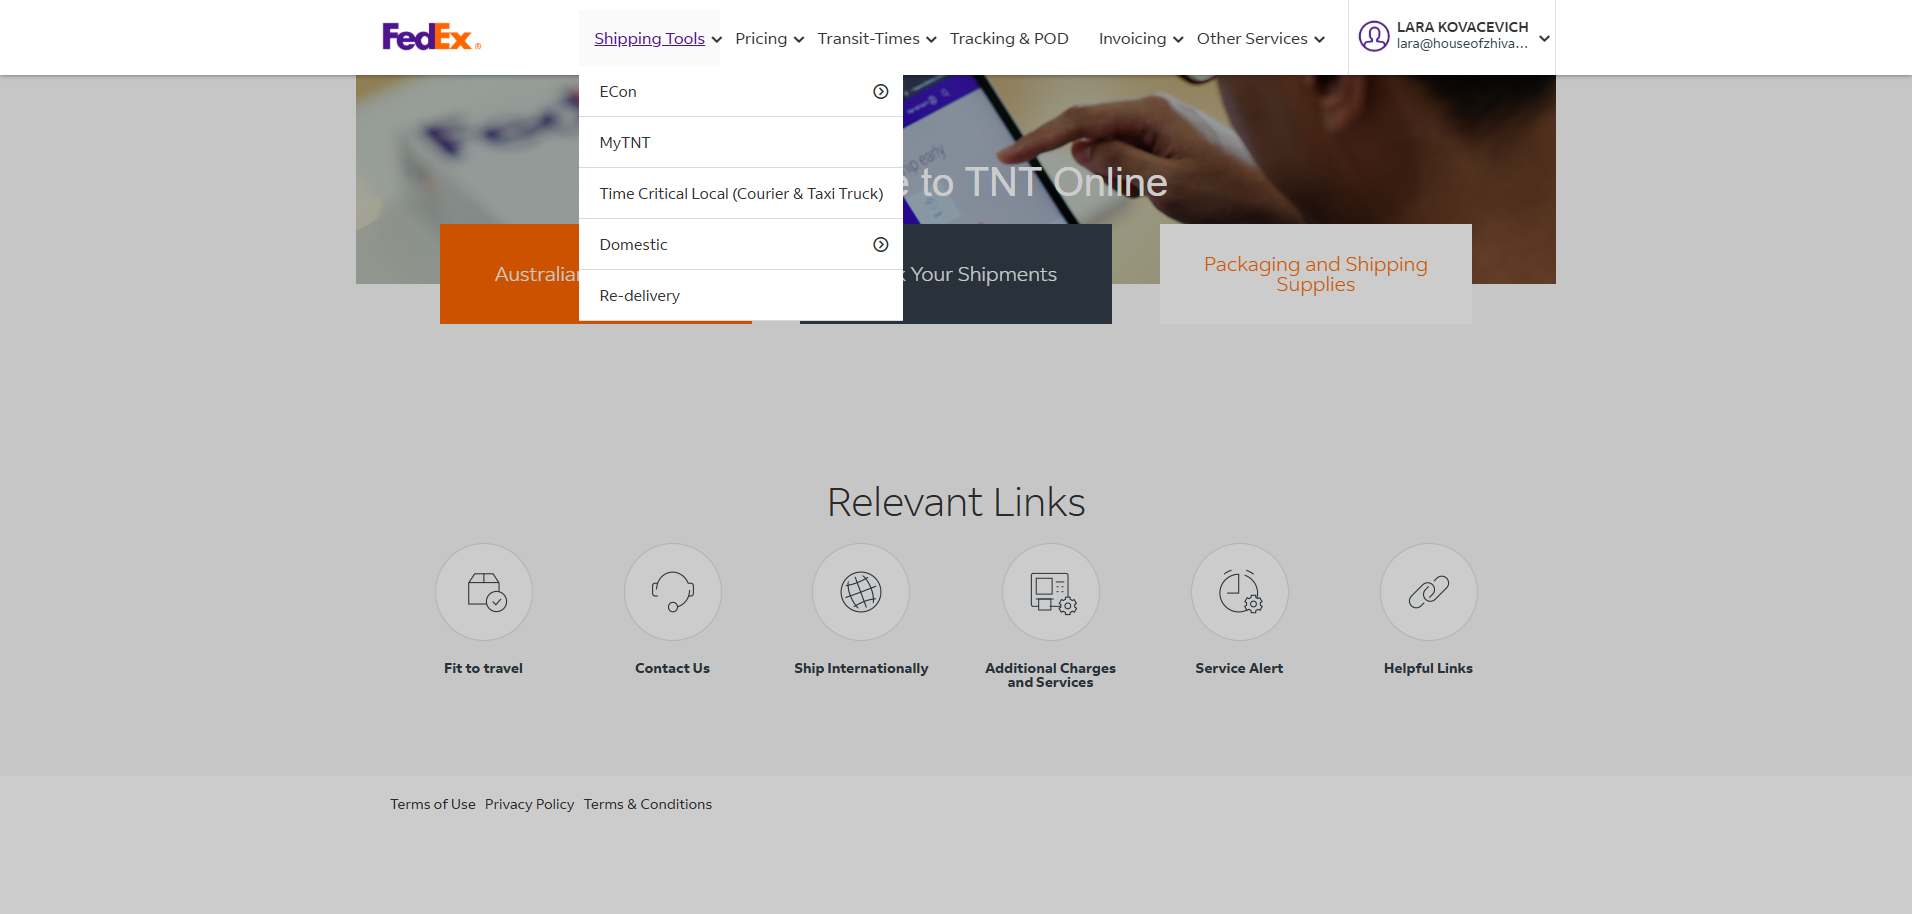
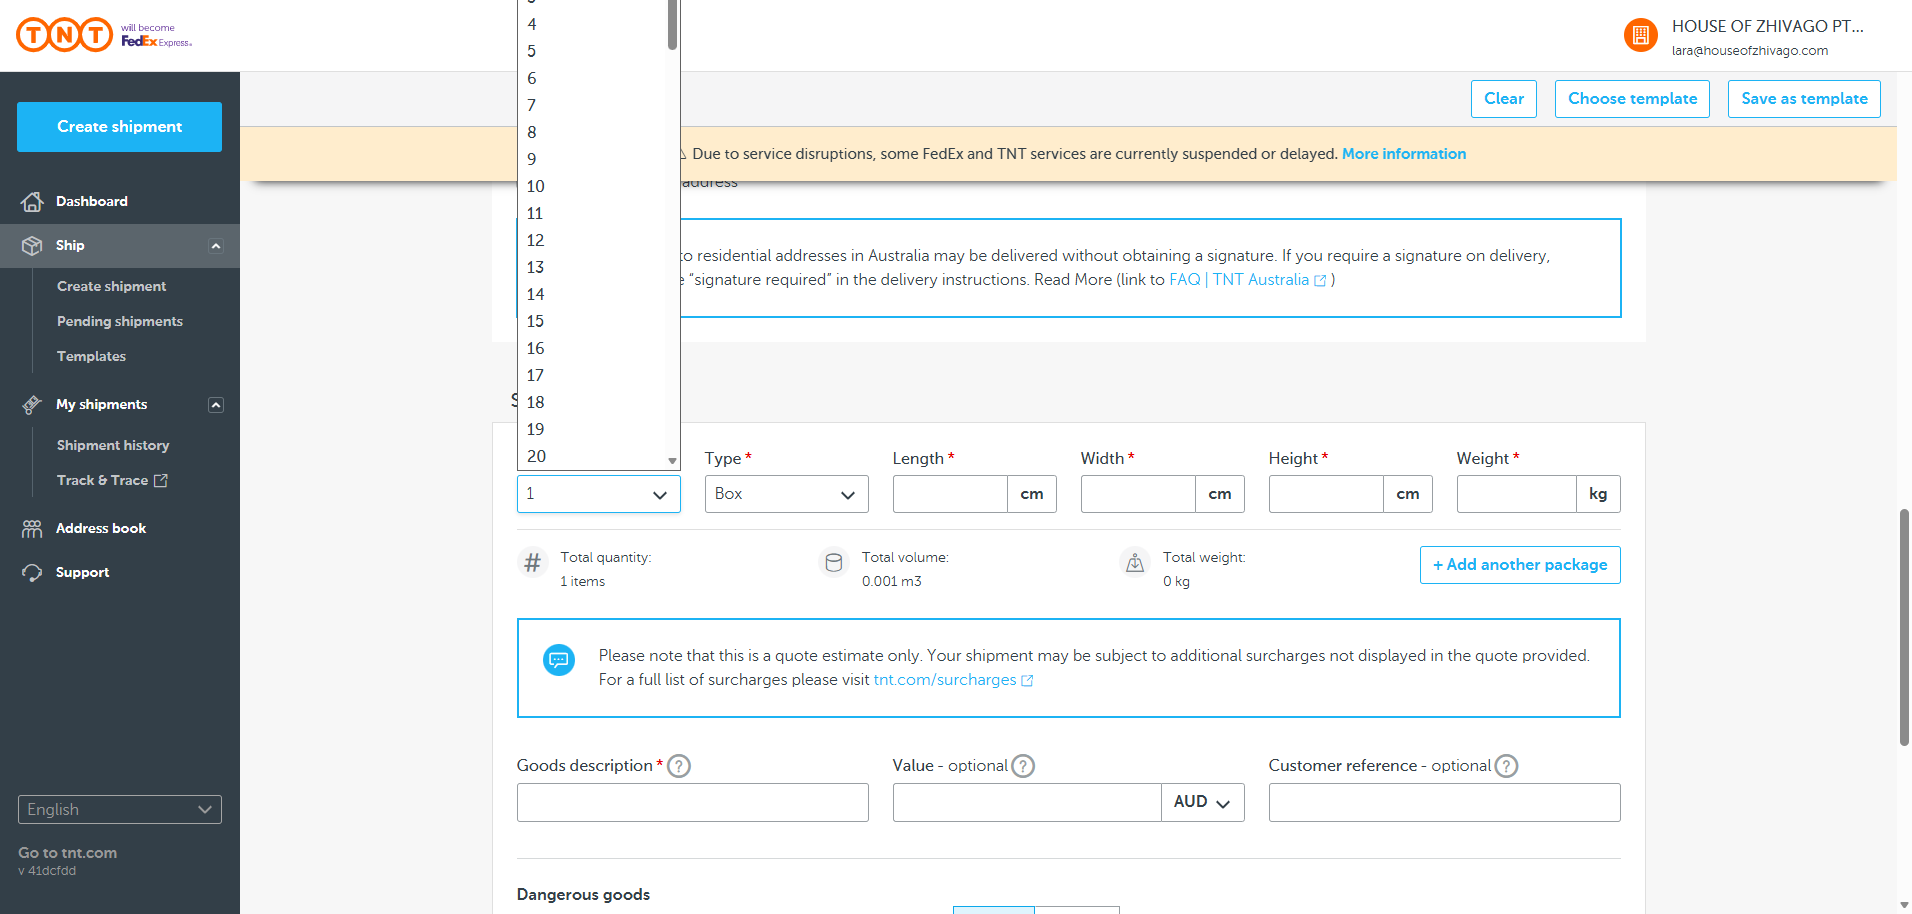
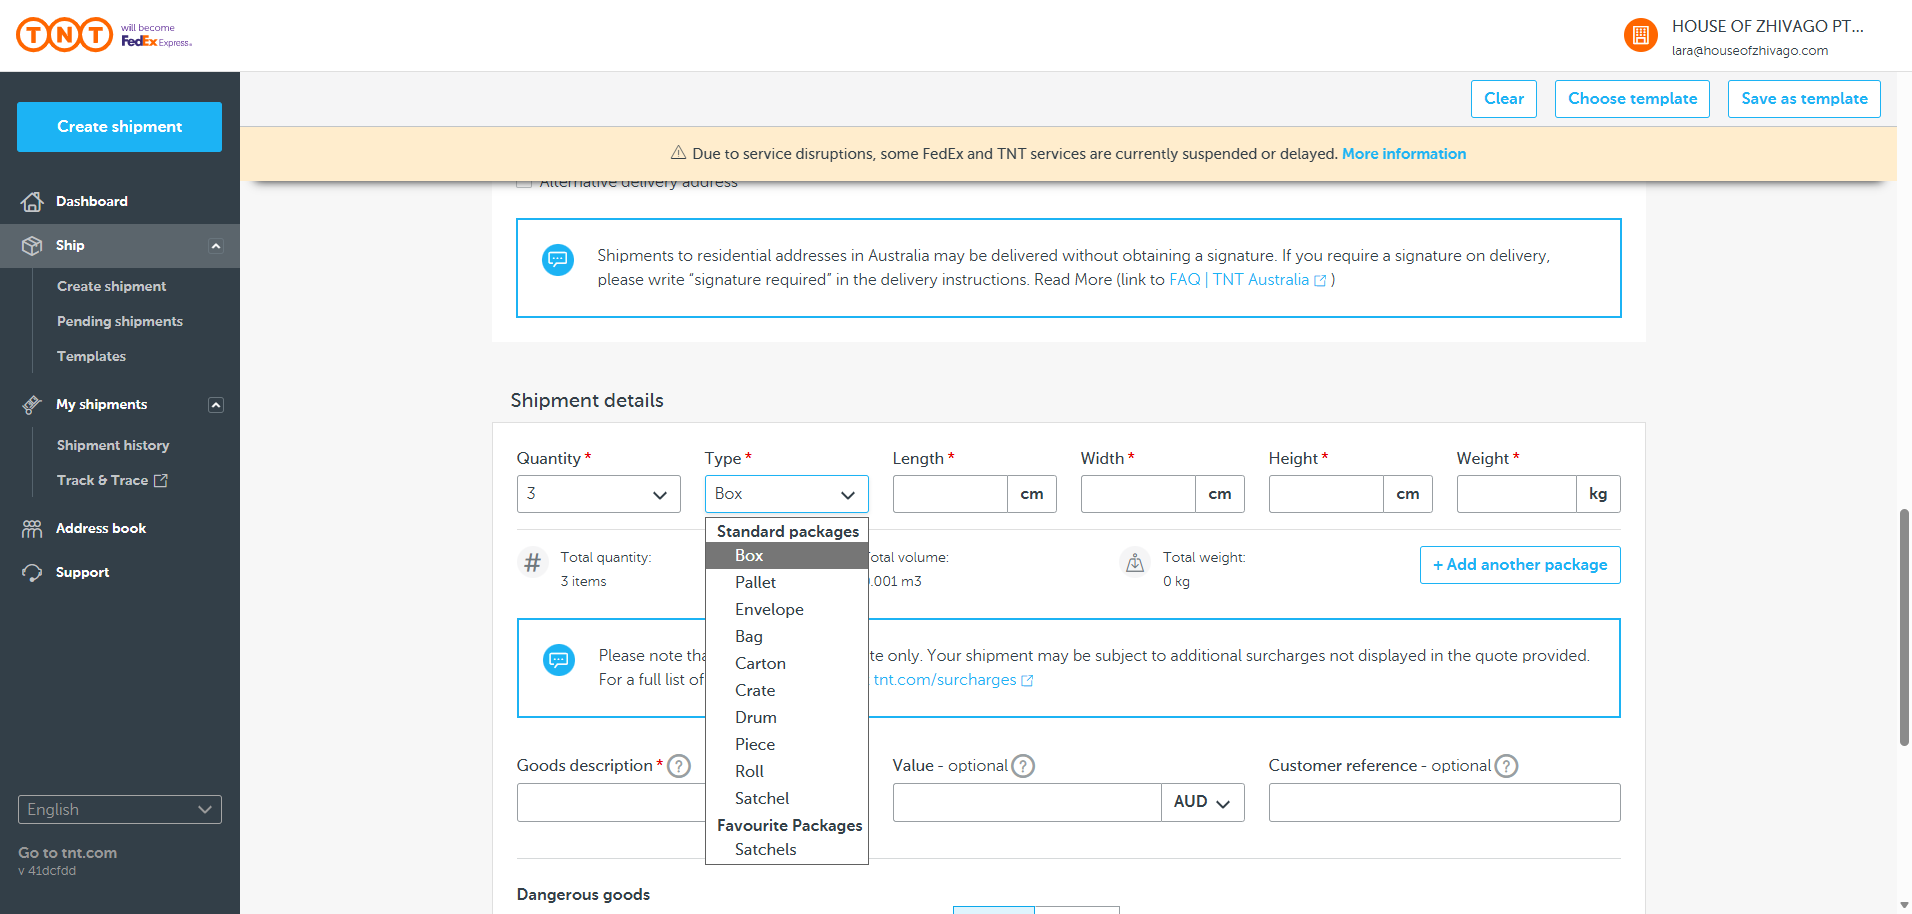
Remember, we only send boxes by road service and satchels by overnight delivery. We never send boxes overnight. The cost is extremely high. After logging in to My TNT, the process is straightforward.
Go to Create Shipment.
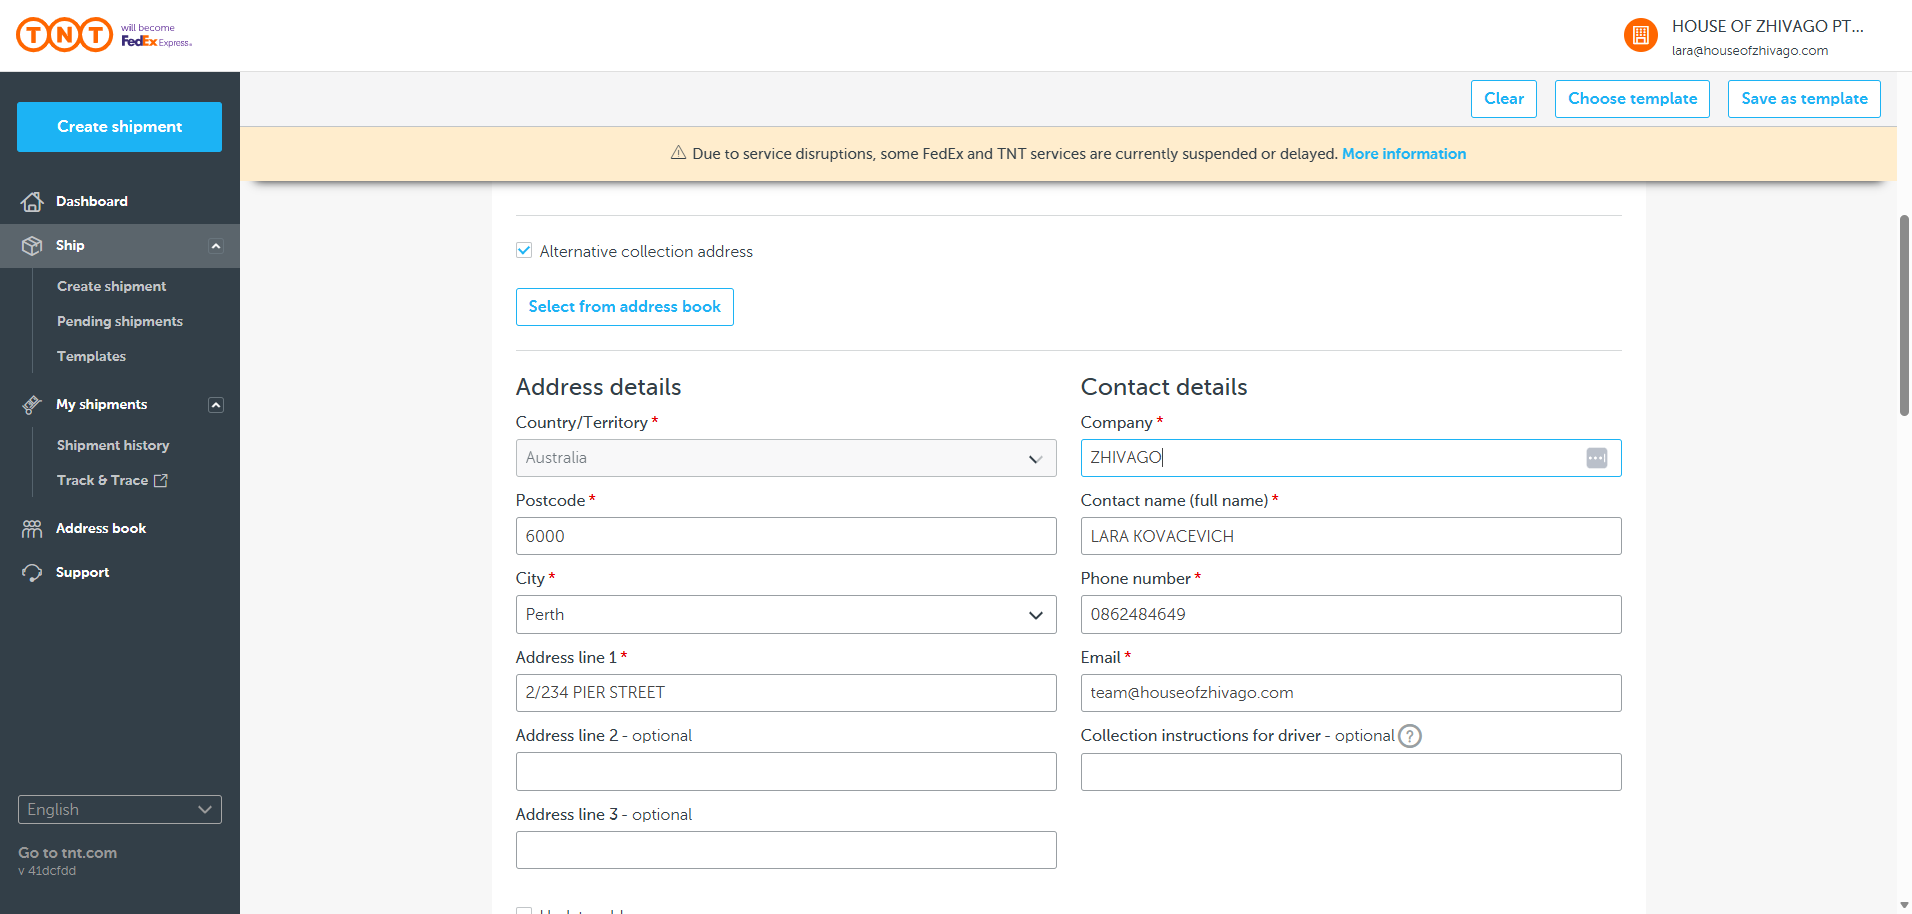
Send Shipment. The collection details are now set, but you can change them.
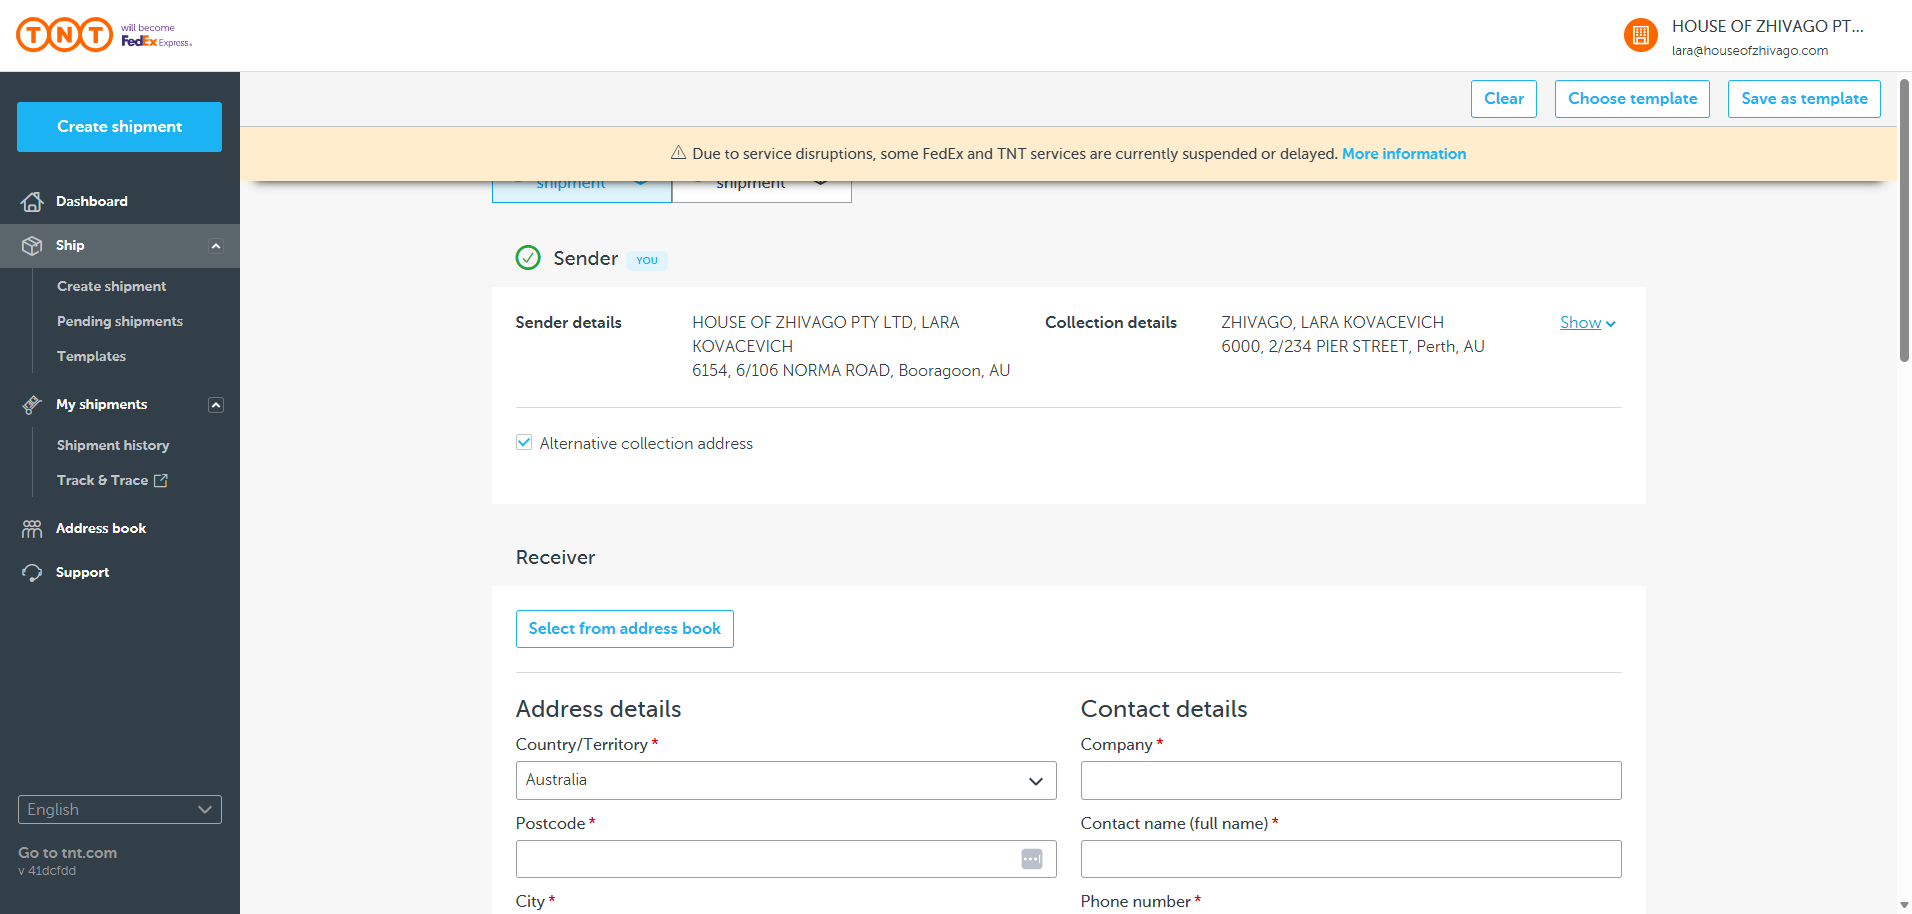
If you want to pick up the item from Matt or another location and return it to us, simply enter the new details here.
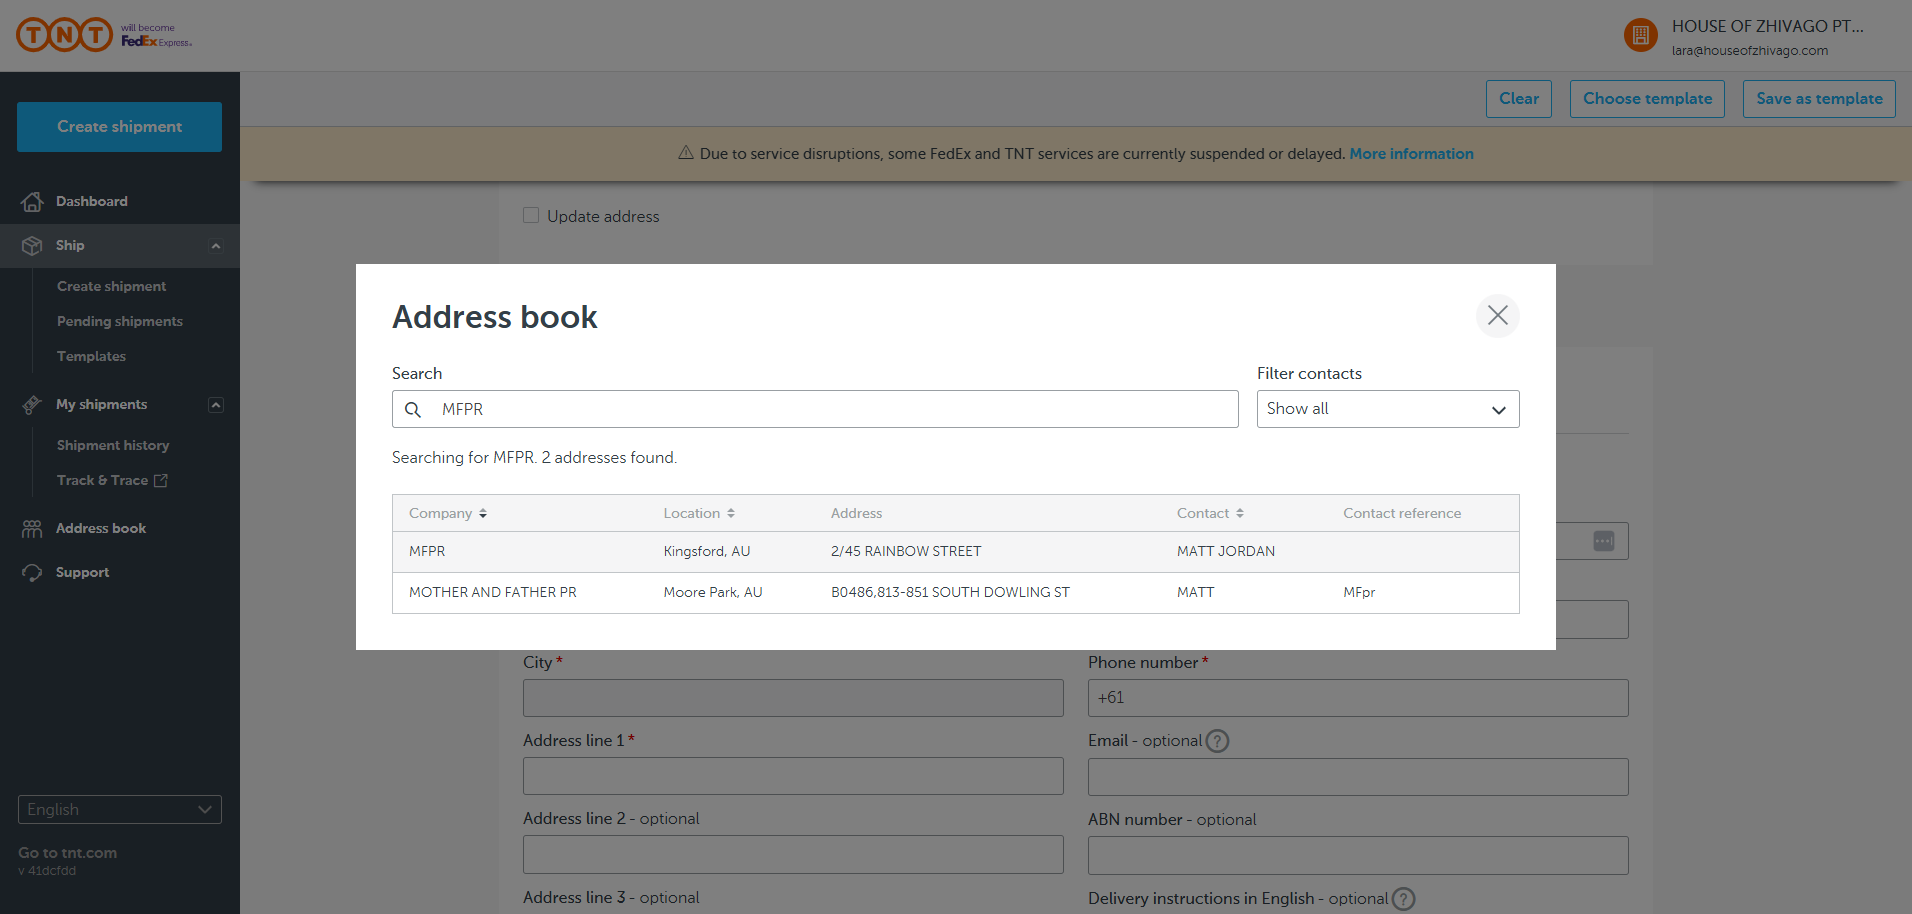
Now, we will select from the address book.

We have searched MFPR.
Here he is in Kingsford.
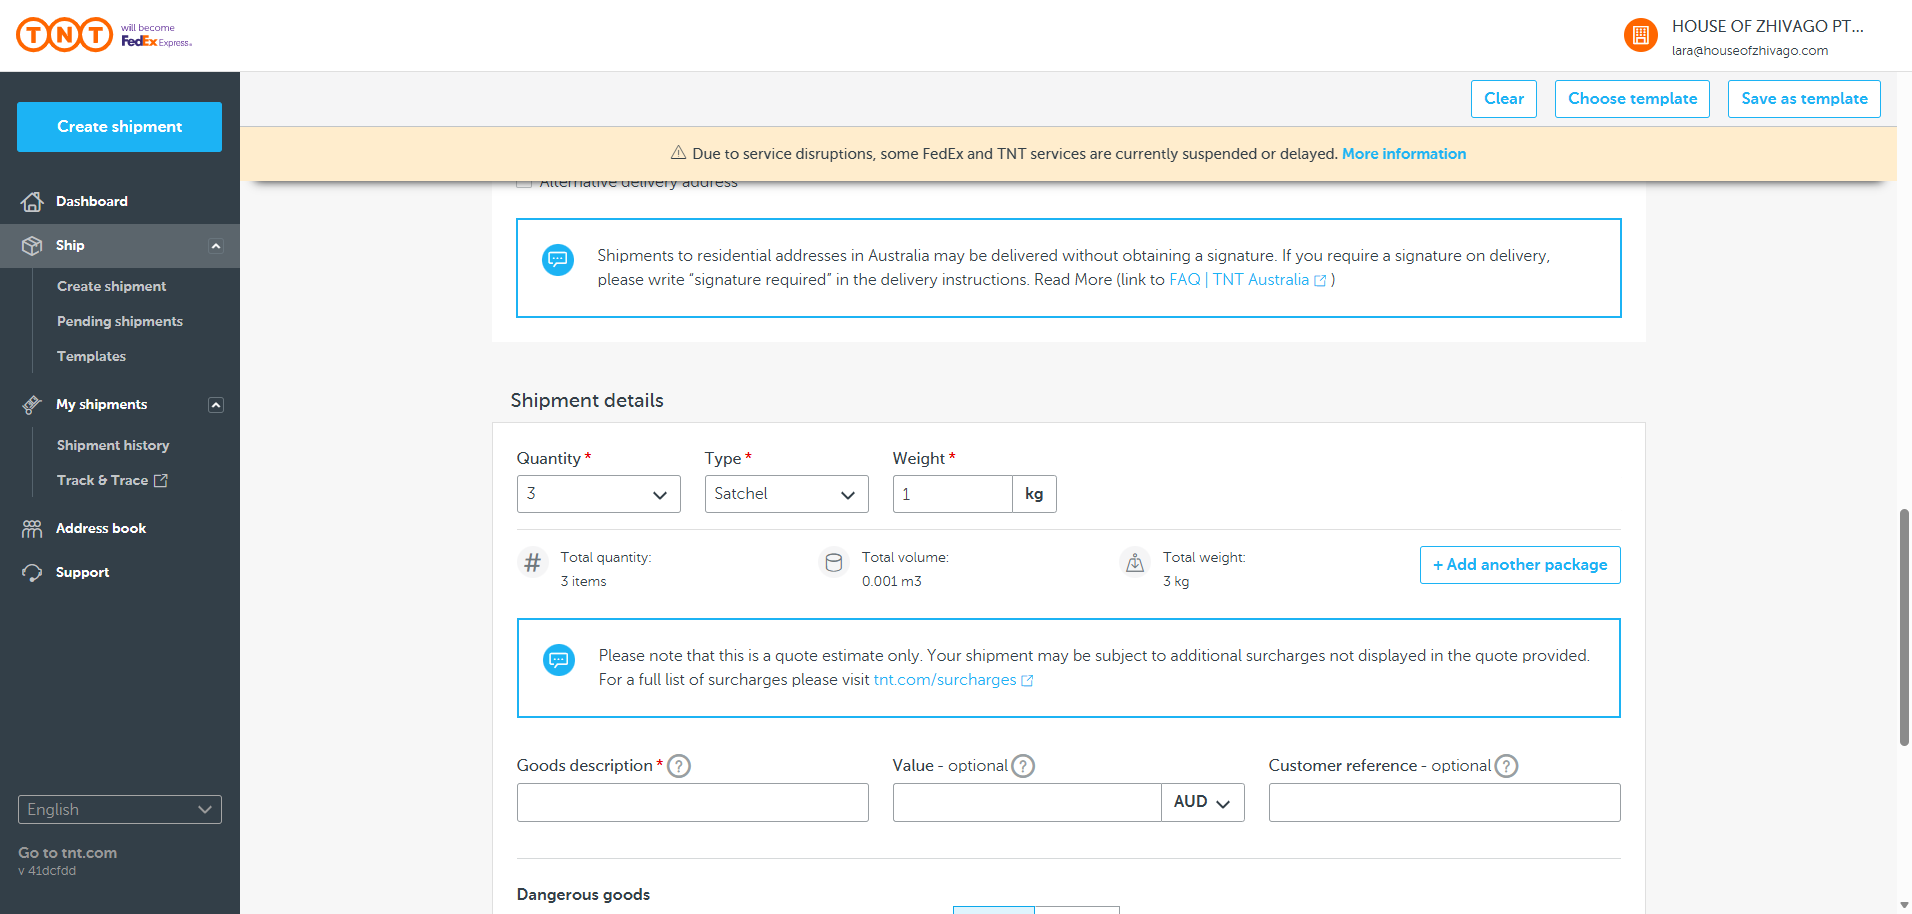
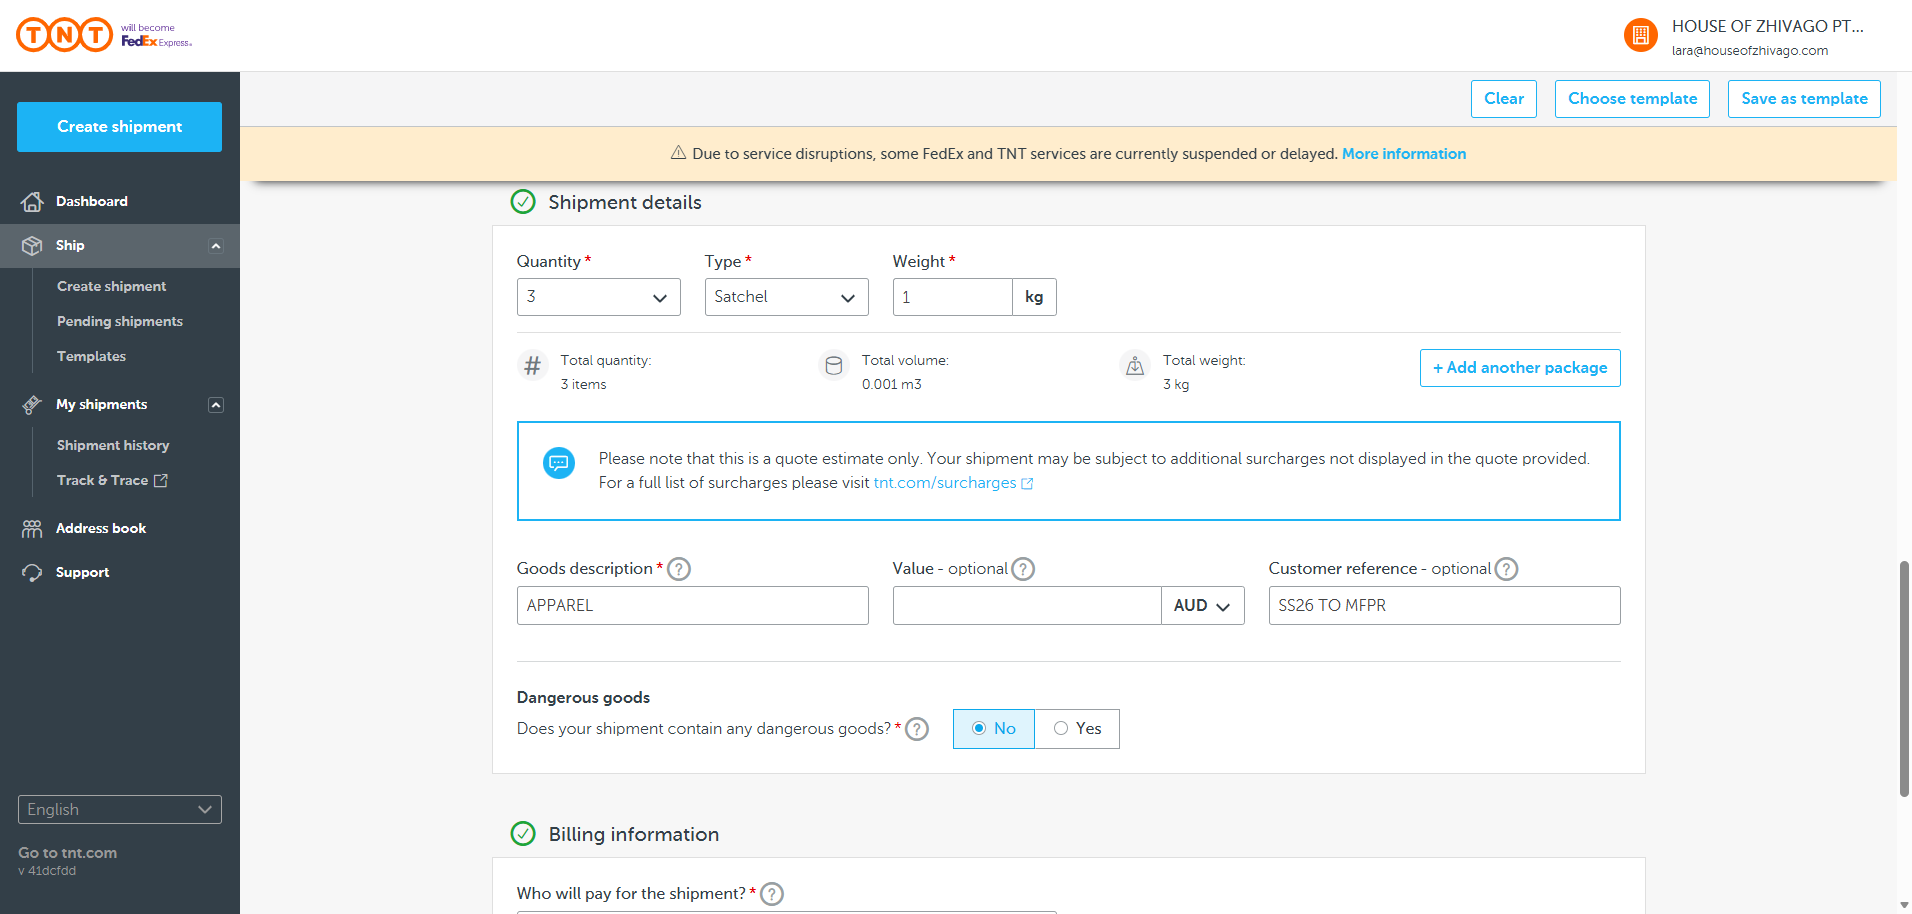
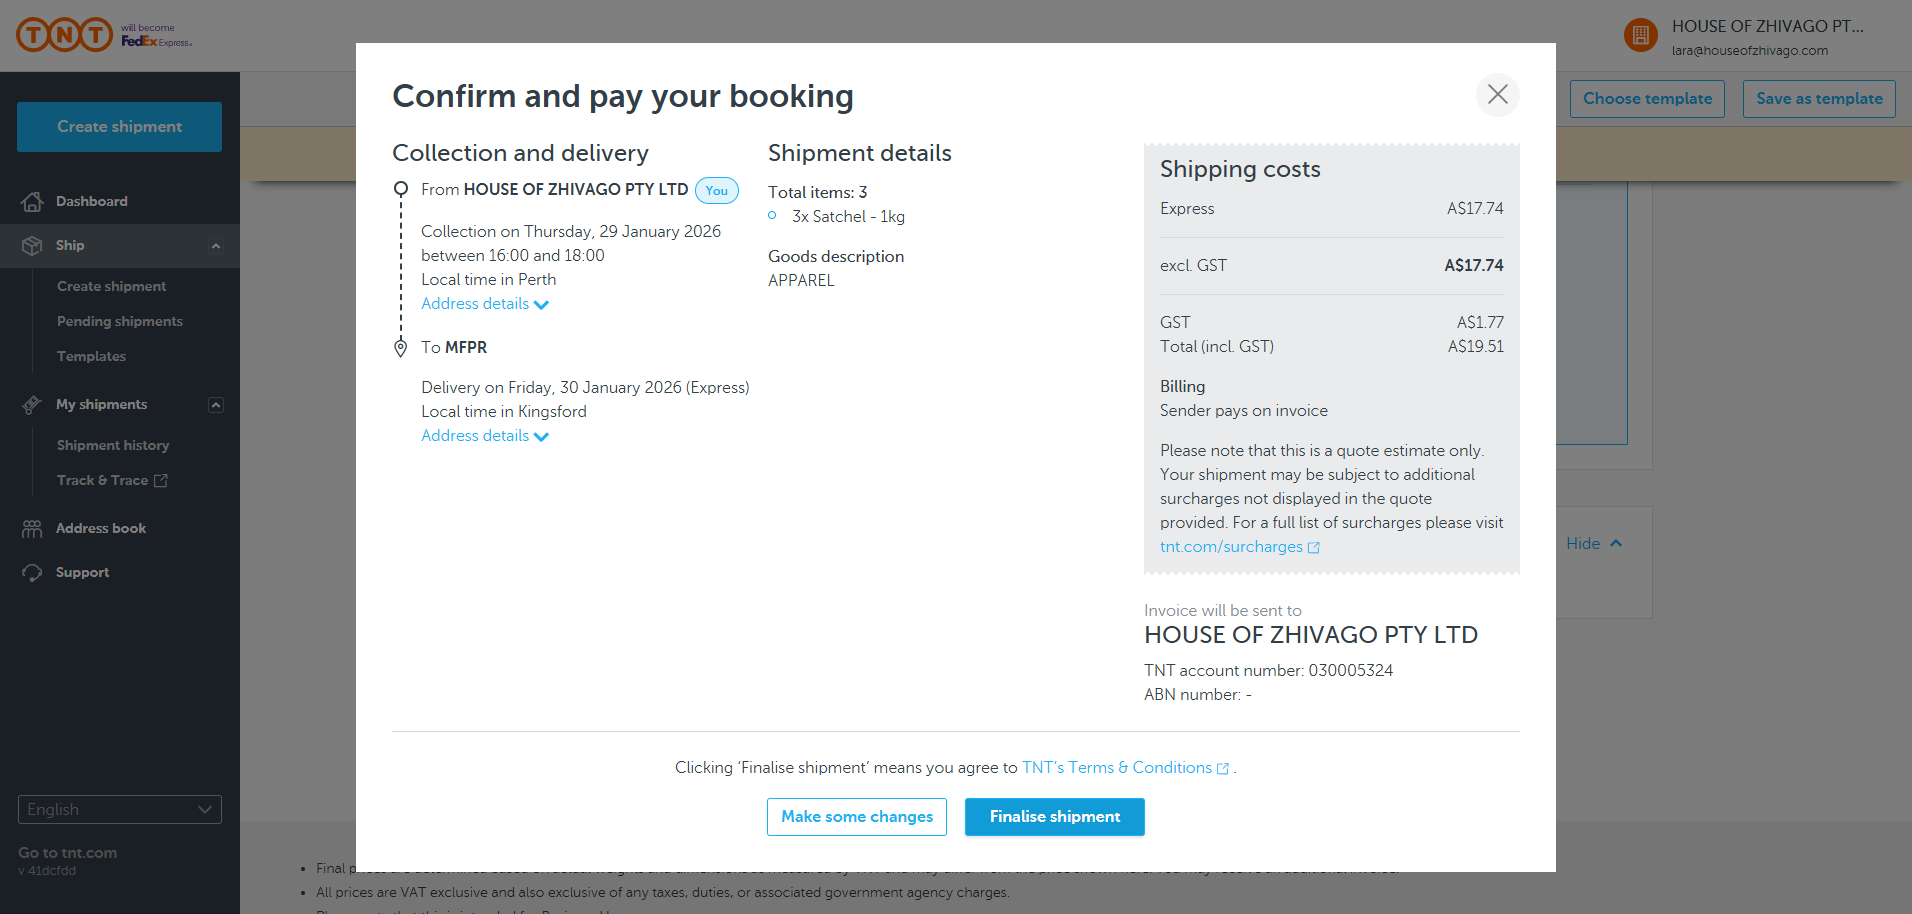
Remember to write "Signature Required" in the delivery instructions. We have three satchels because we want them to go airborne. So, we will use three satchels.

Always use one kilogram for the weight. They will increase the scale if needed, but they will not reduce it if you overestimate.
Goods description: apparel.

Leave the value EMPTY
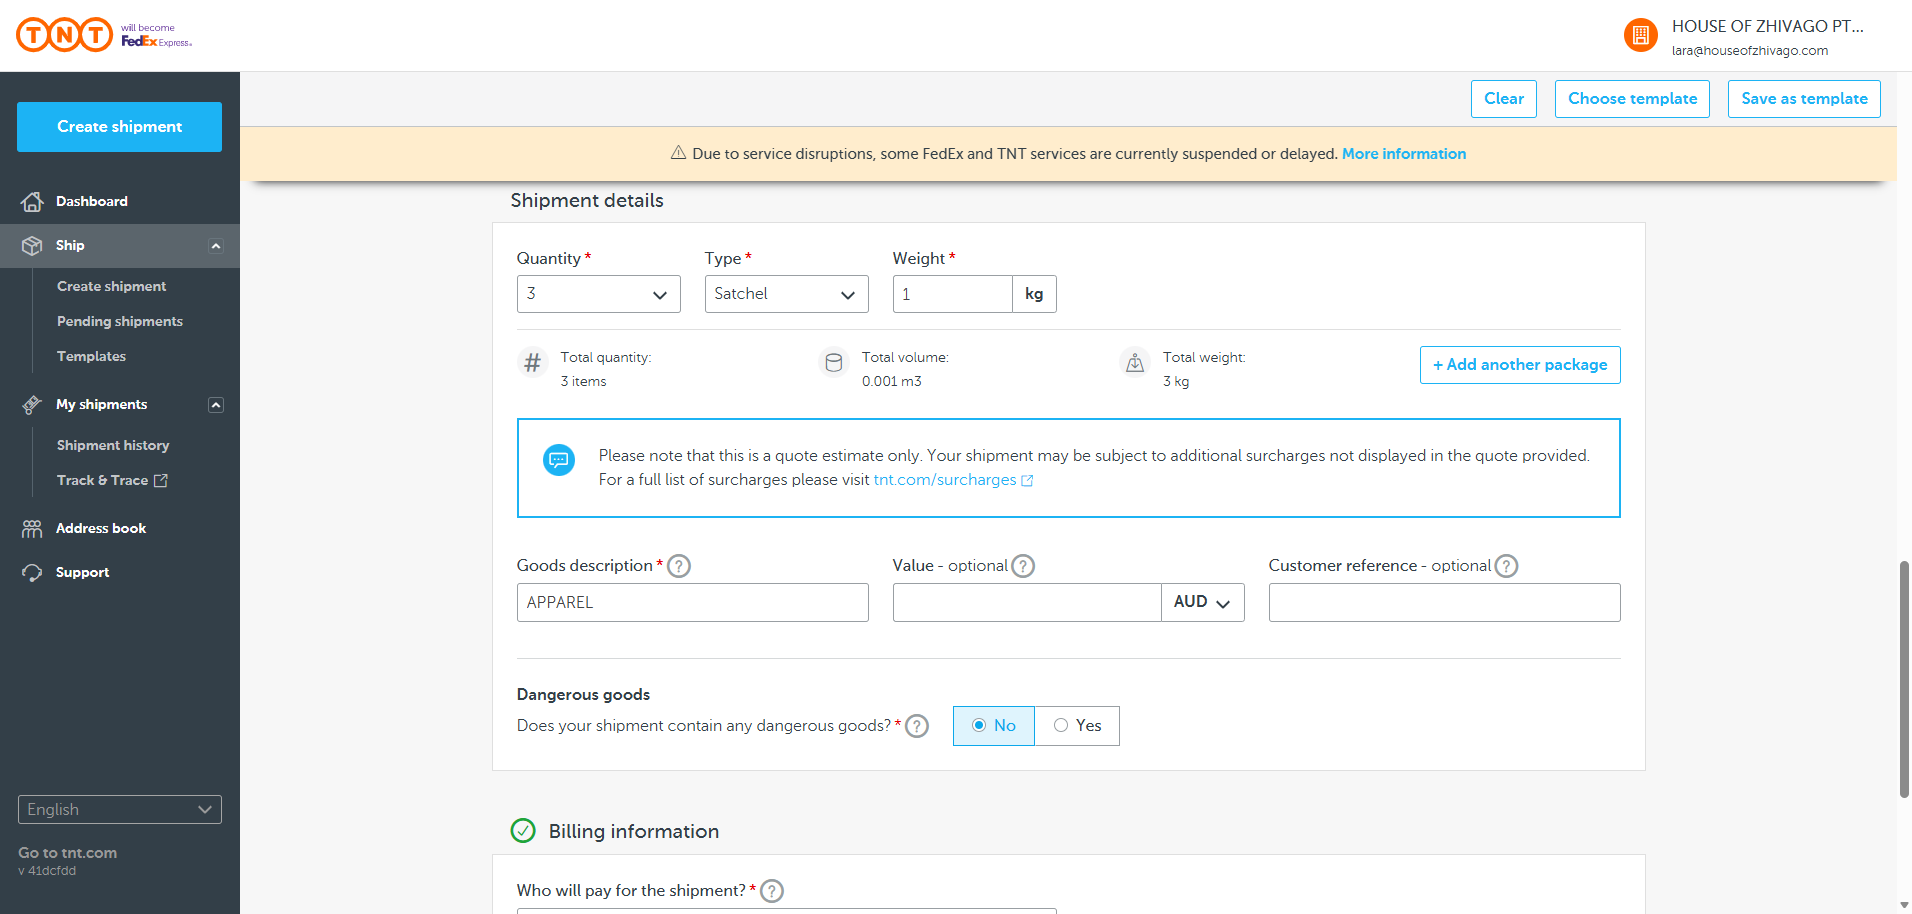

You can add the reference. In this case, use SS26 to MFPR for the SS26 collection to MFPR. The shipment does not contain any dangerous goods.
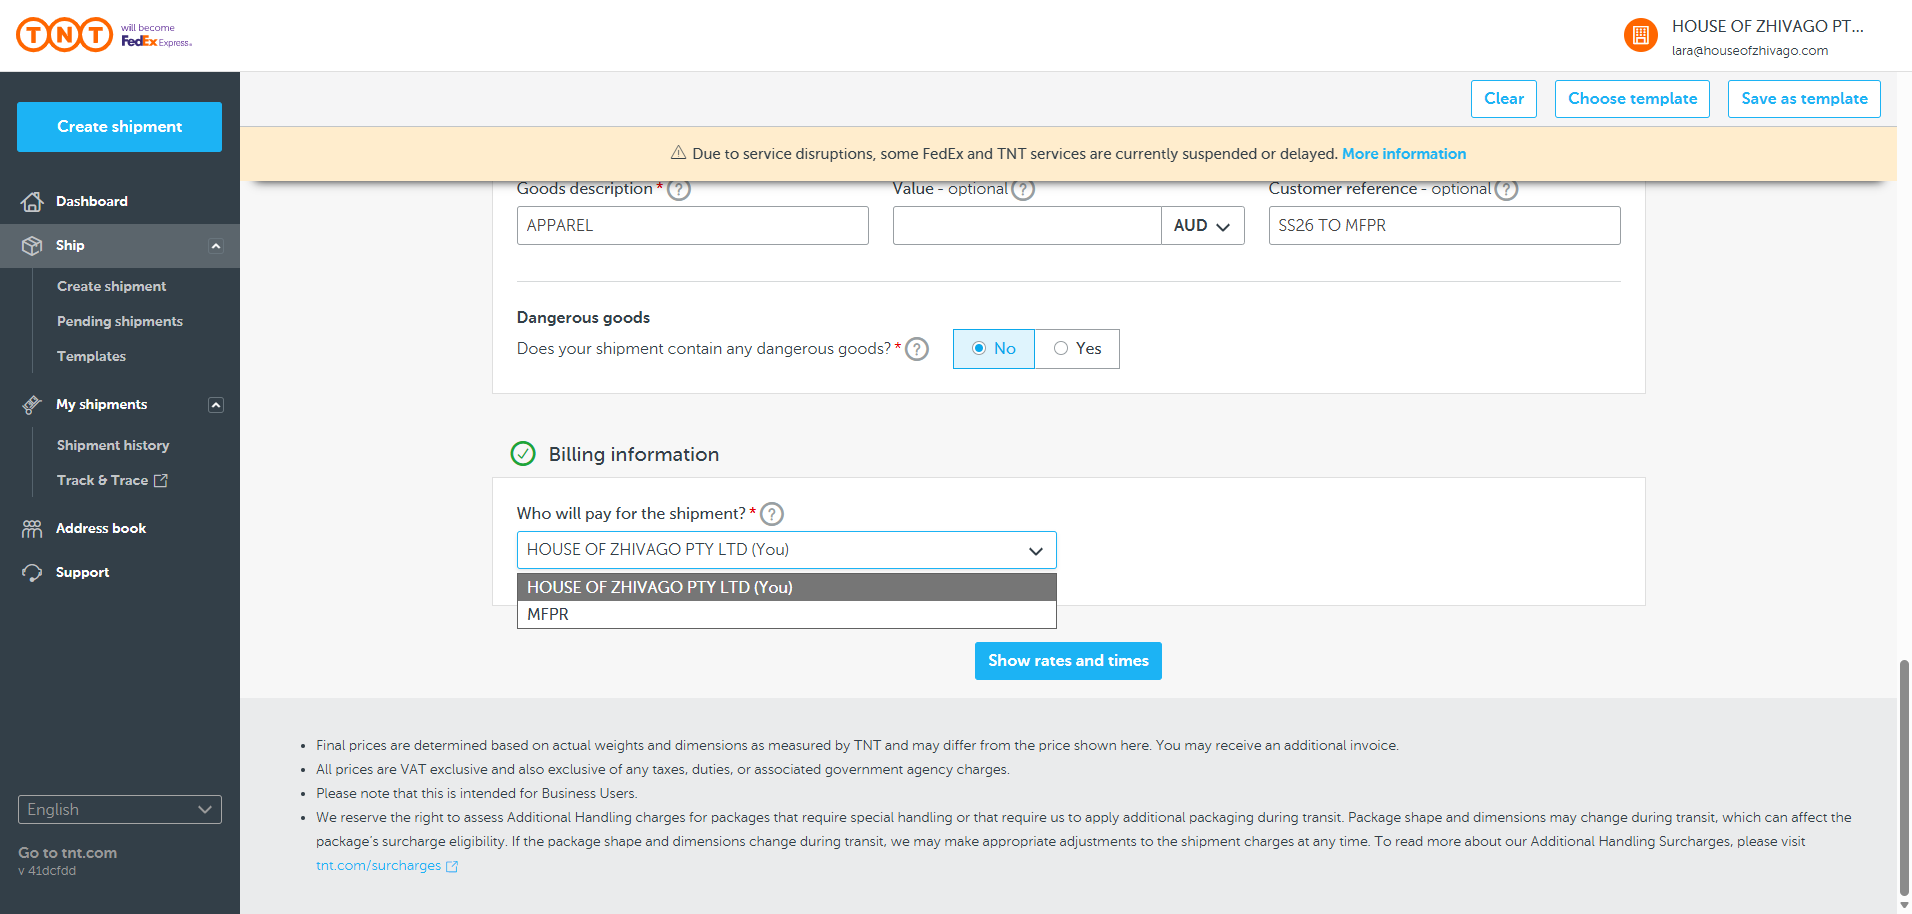
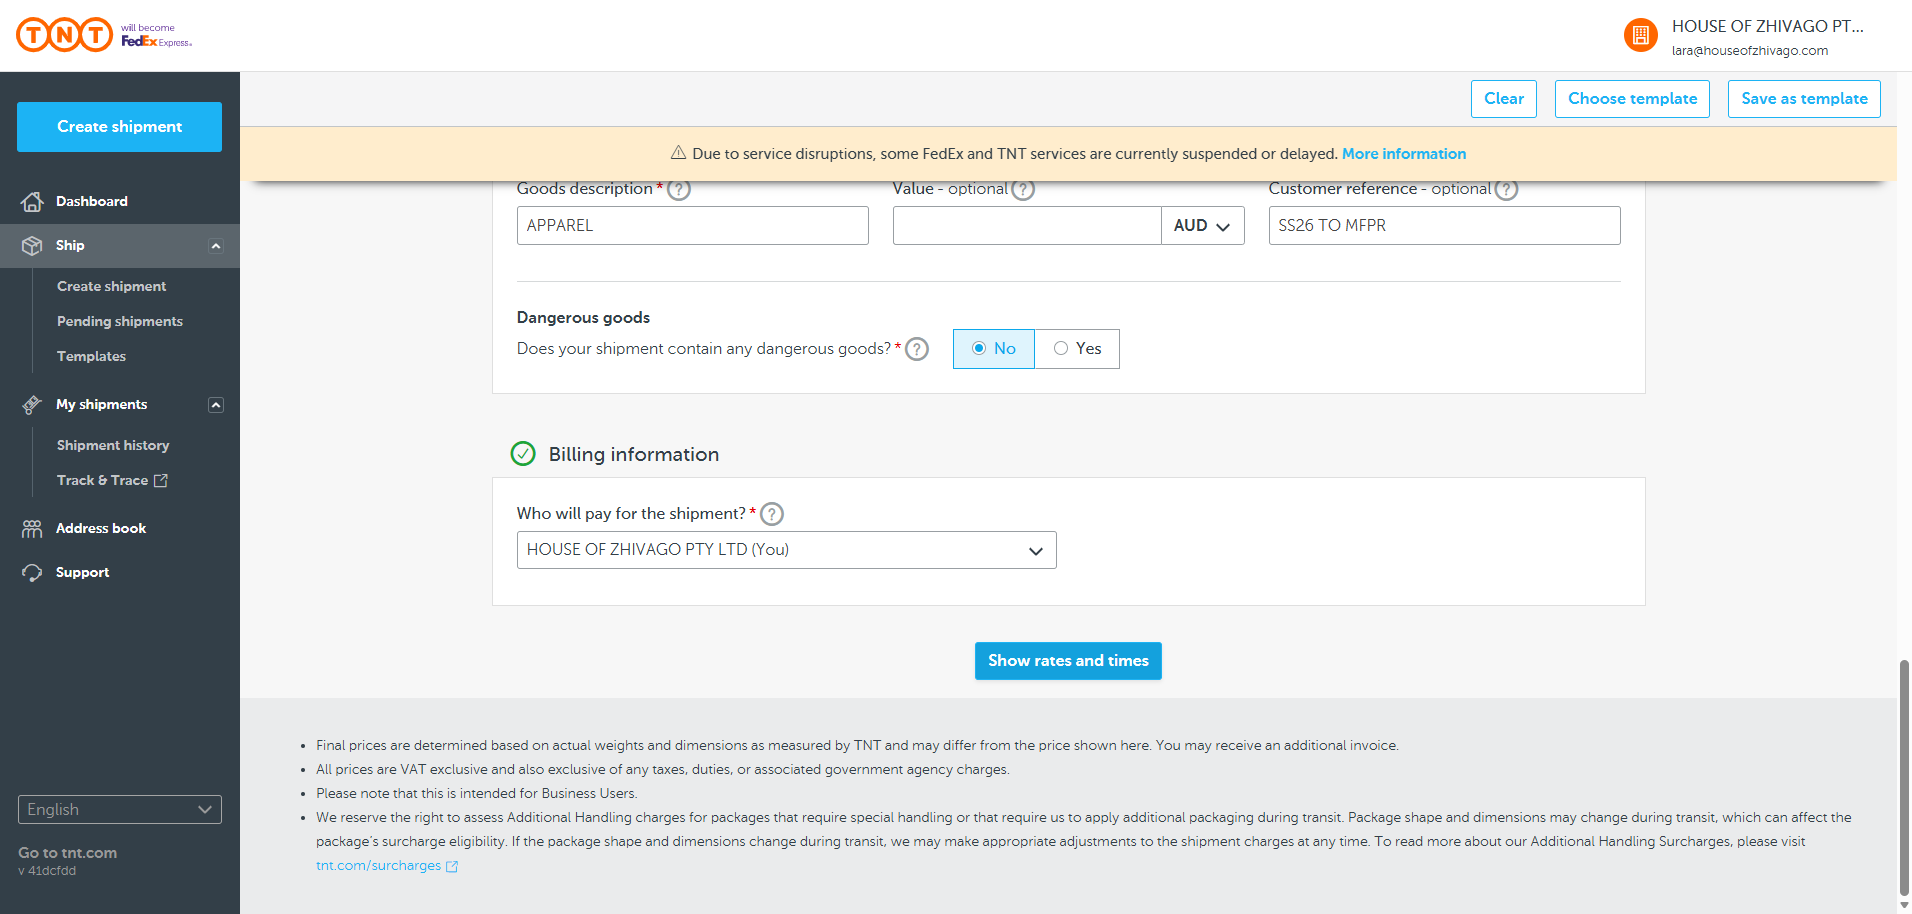
We will cover the shipping costs.
Show rates and times.

If you see a message saying there is no pickup time, but the courier hasn't arrived yet, select tomorrow as the pickup date. You can still give the package to the courier today.
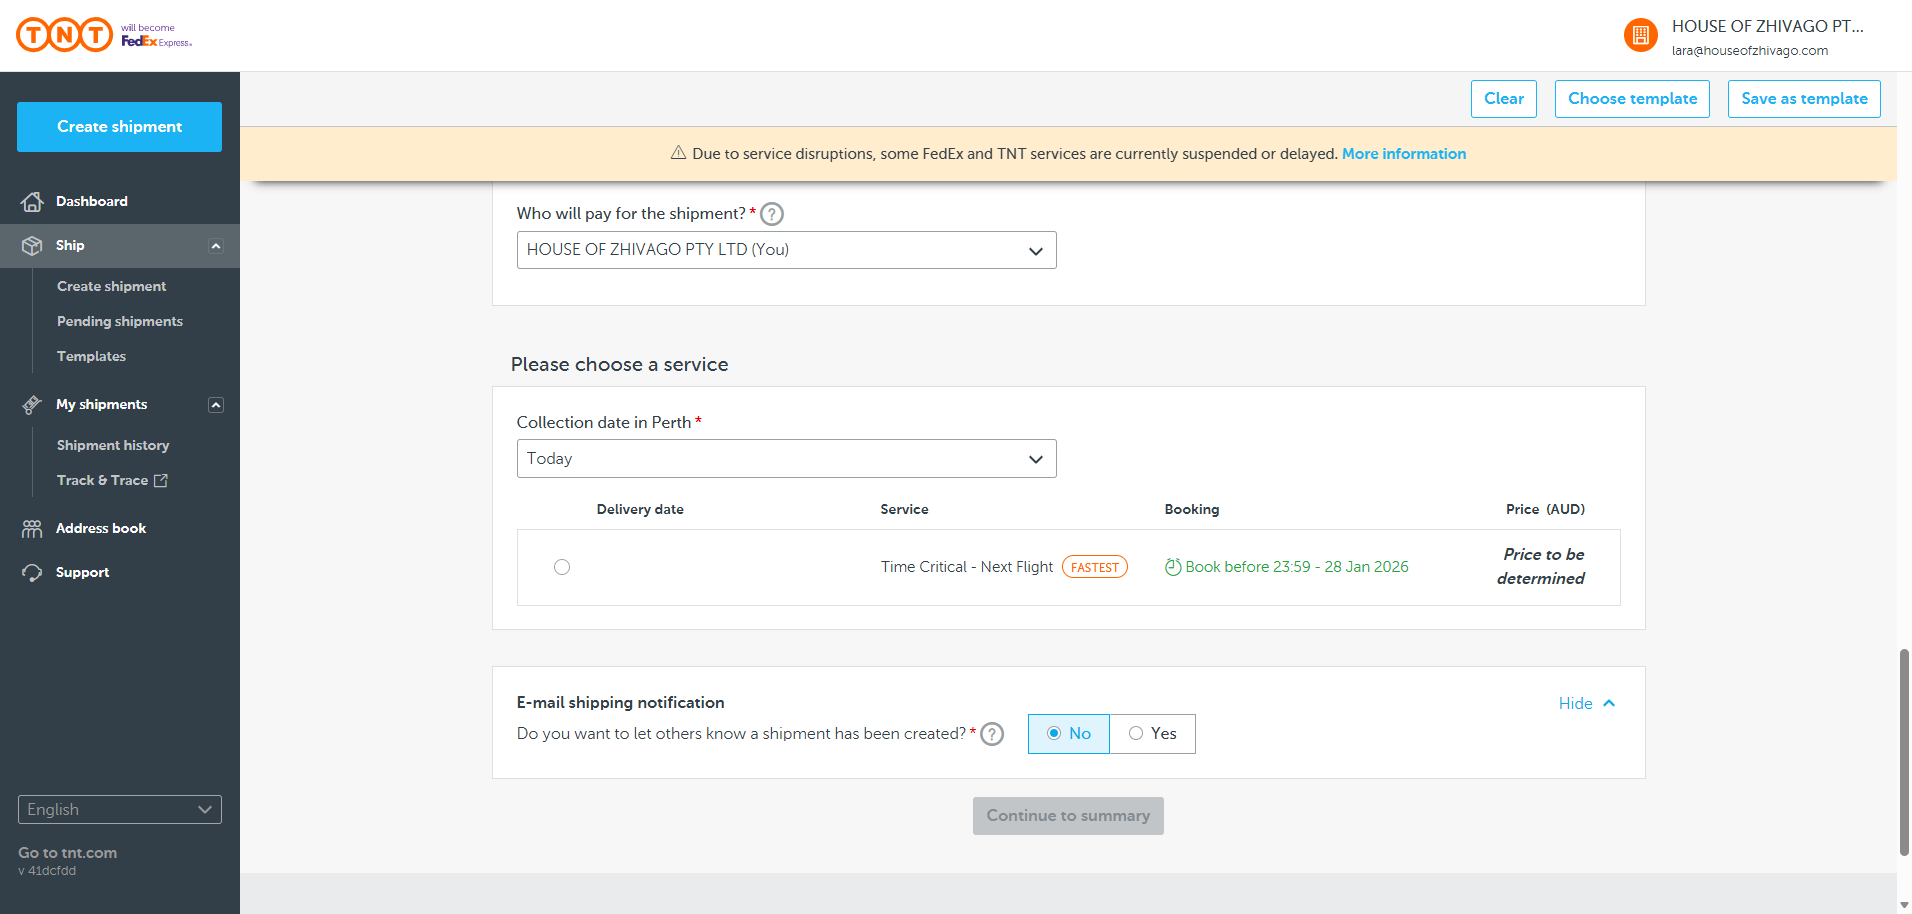
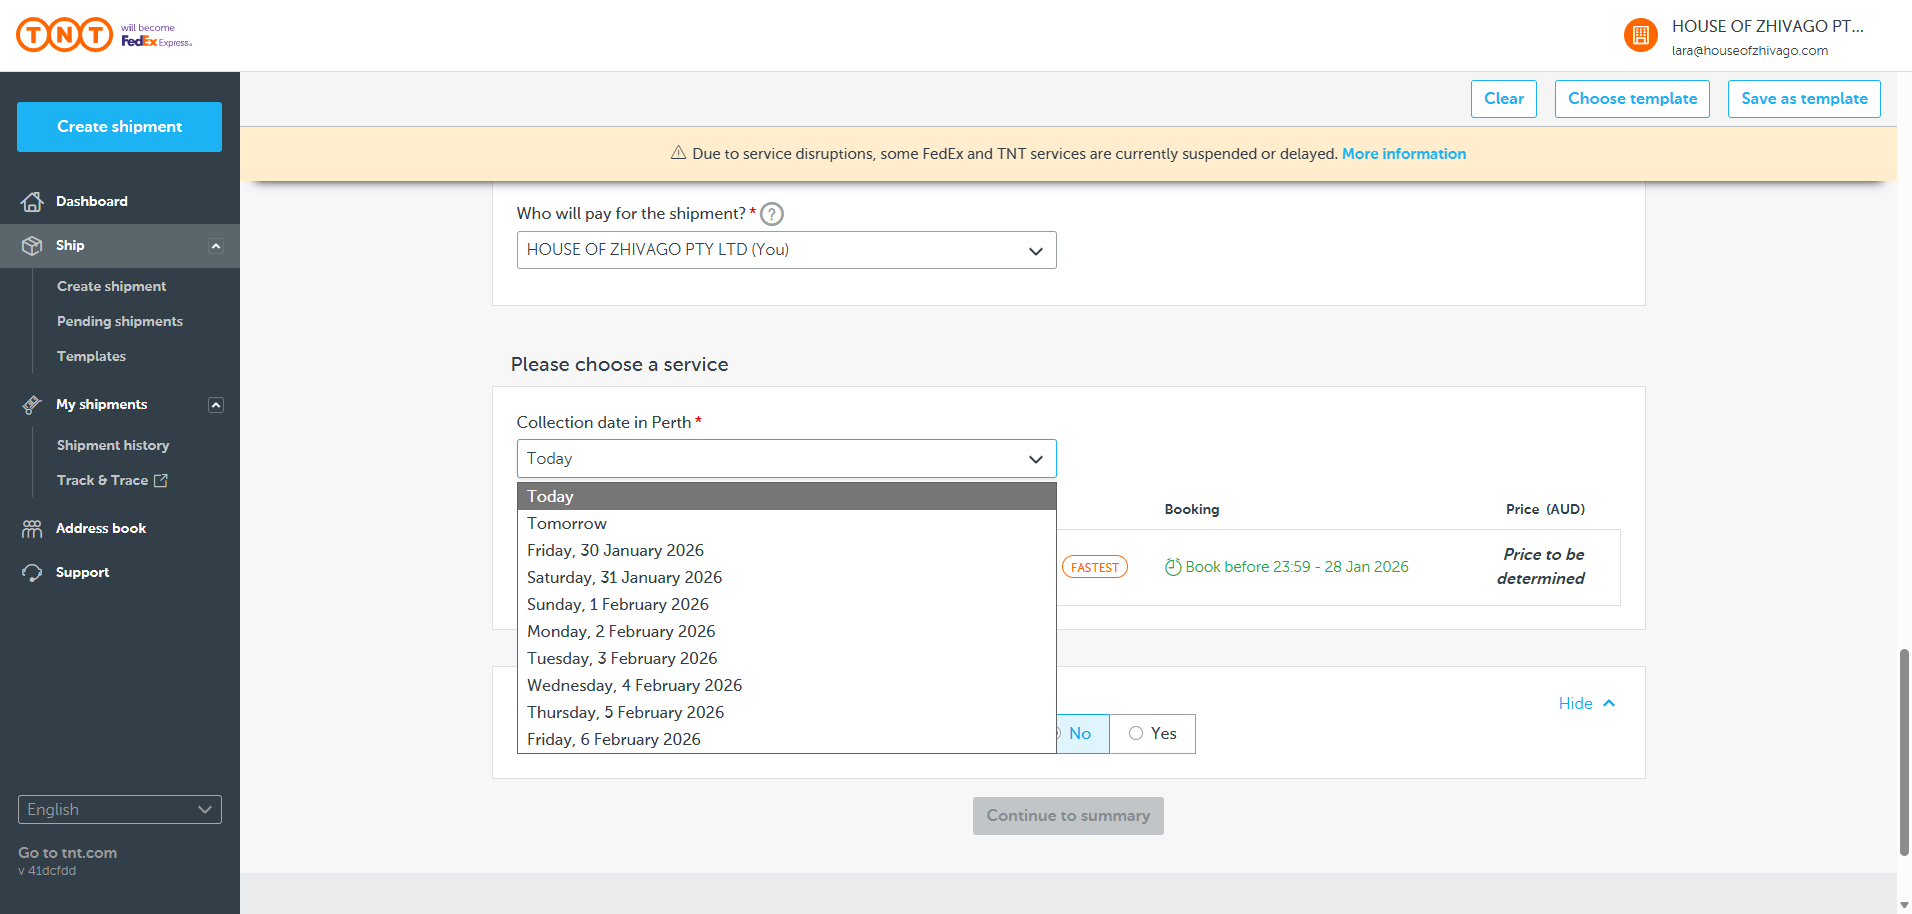
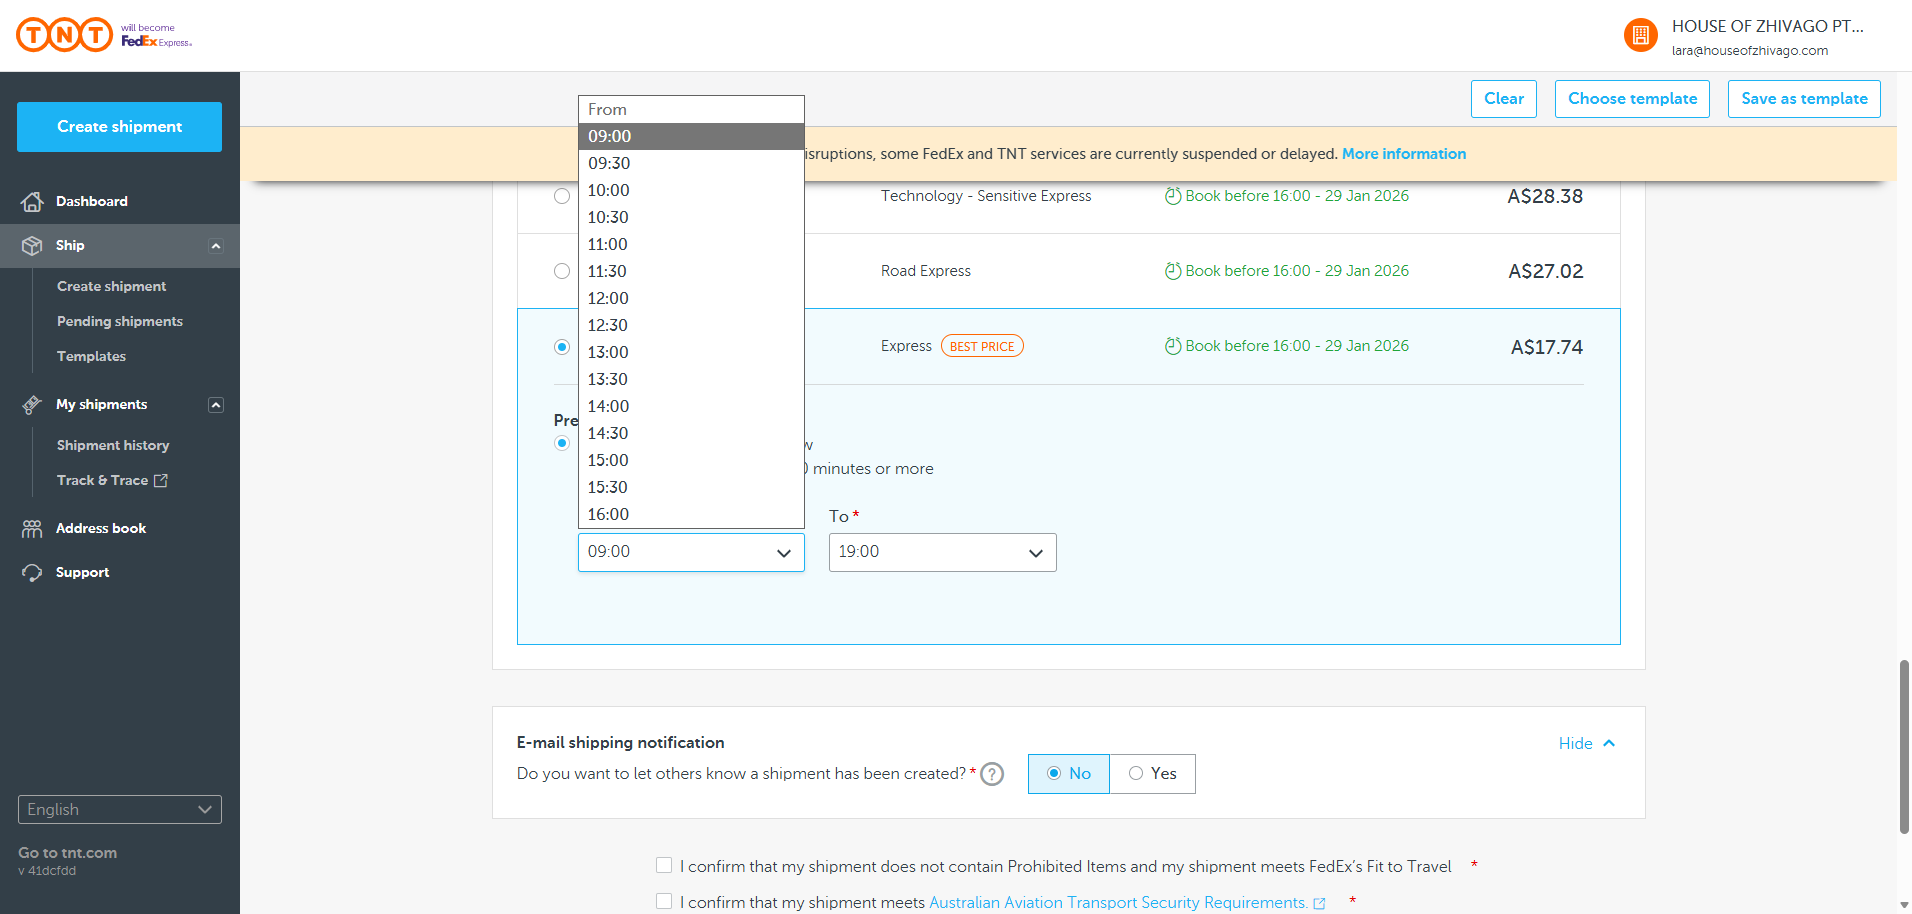
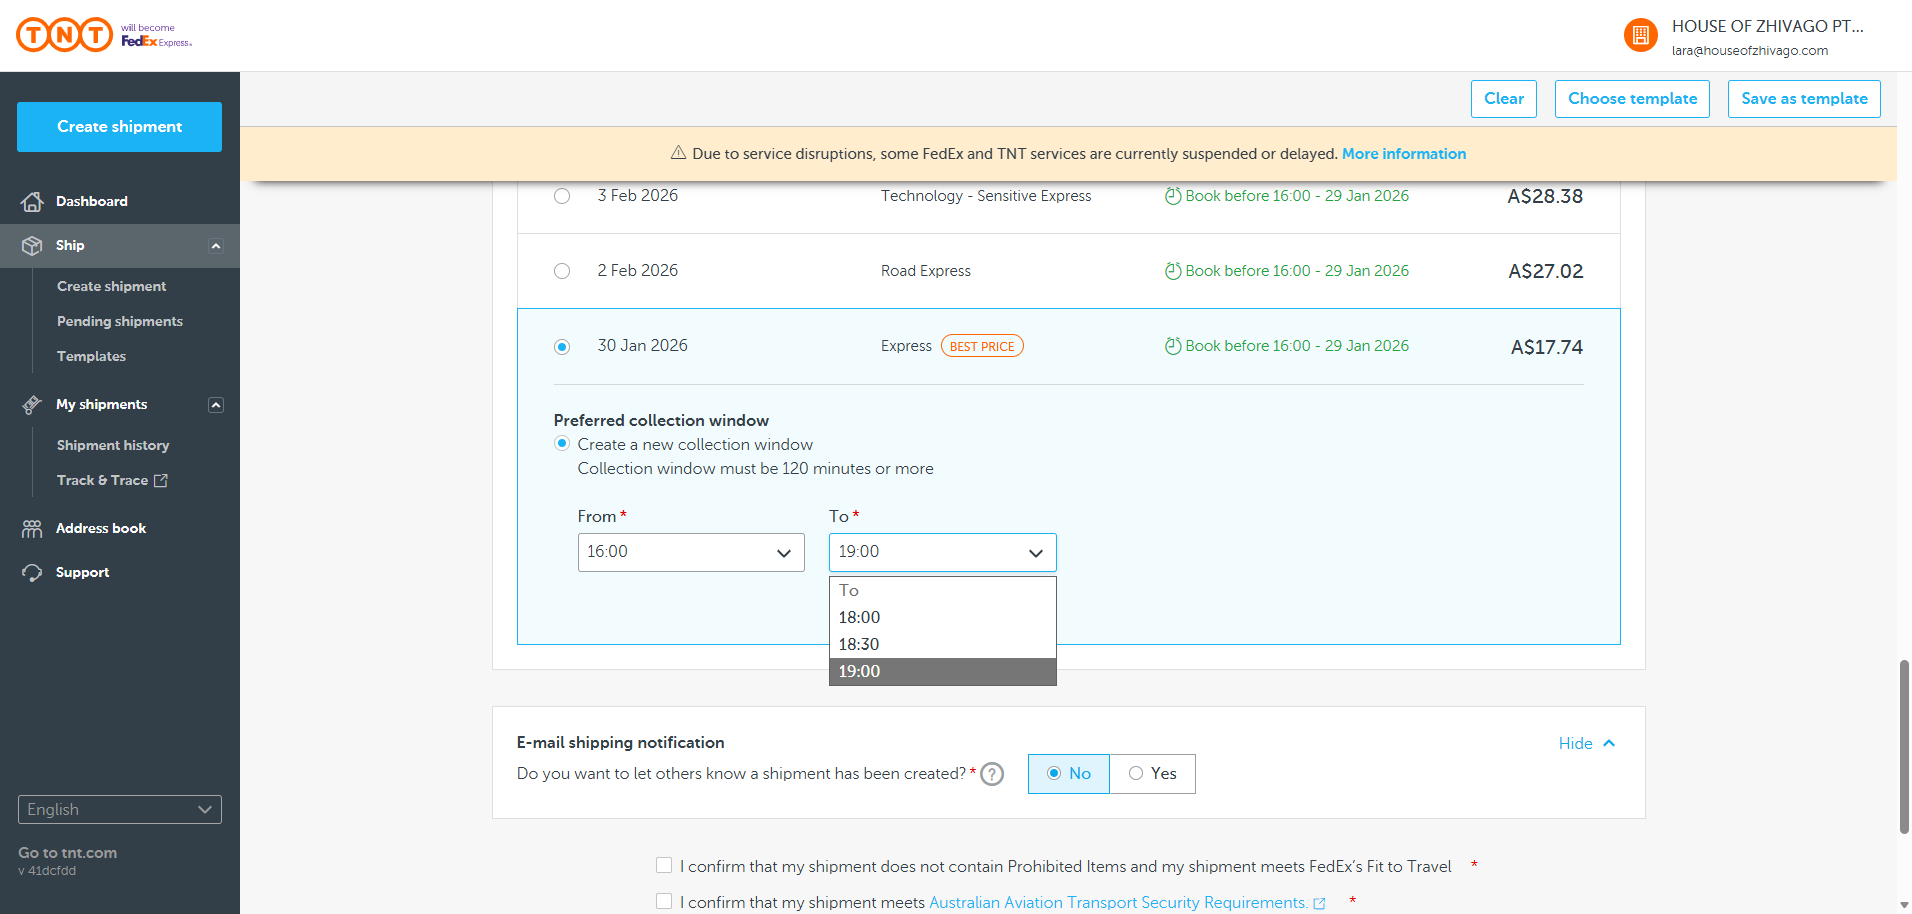
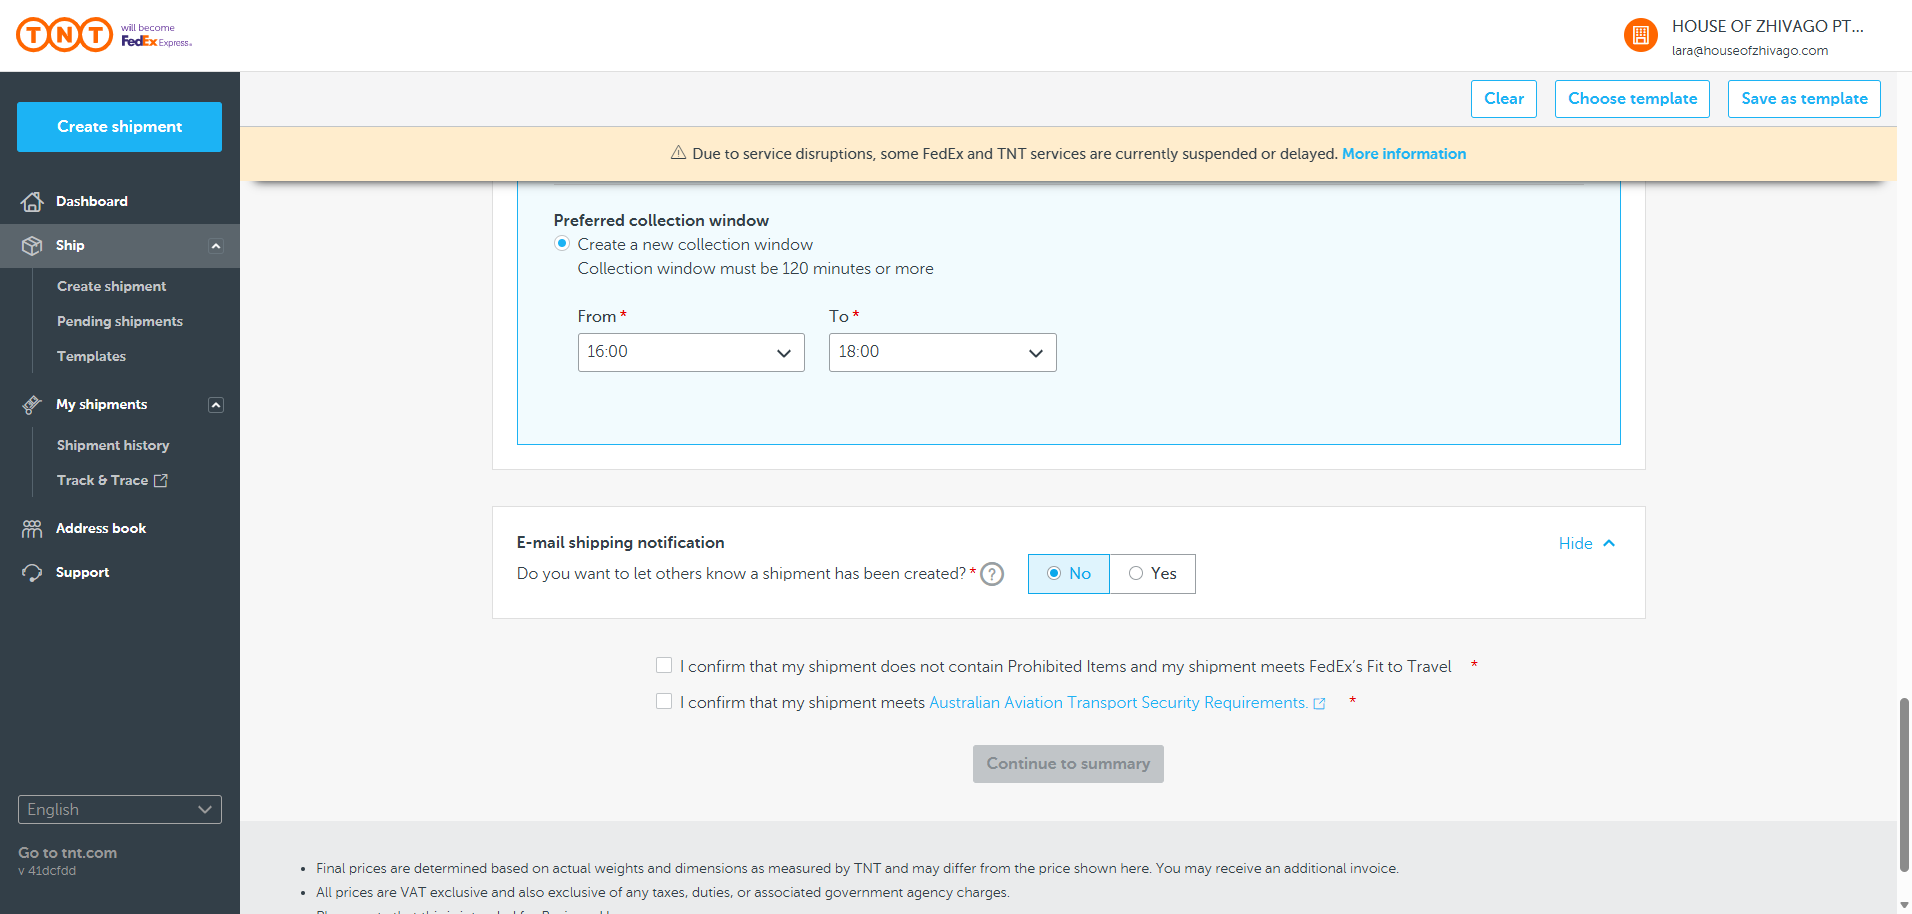
Now, scroll down and select Express. The total cost for the entire shipment is $17. Set the collection window for tomorrow so they will come then.
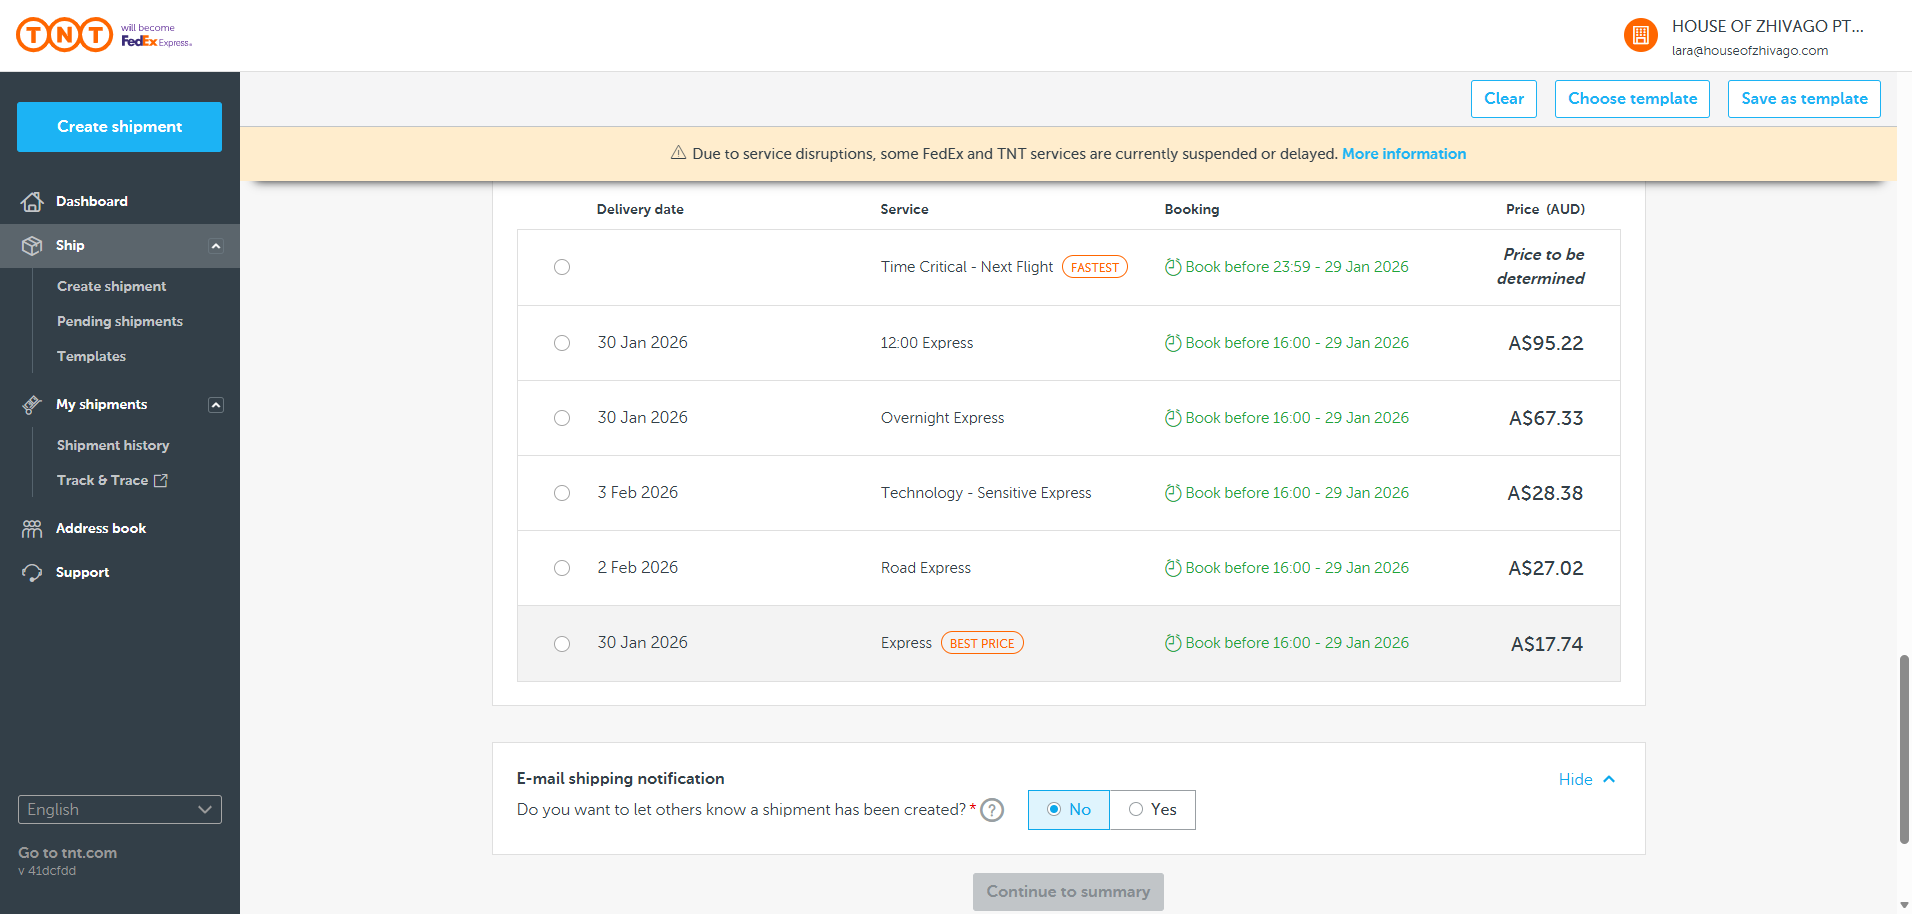
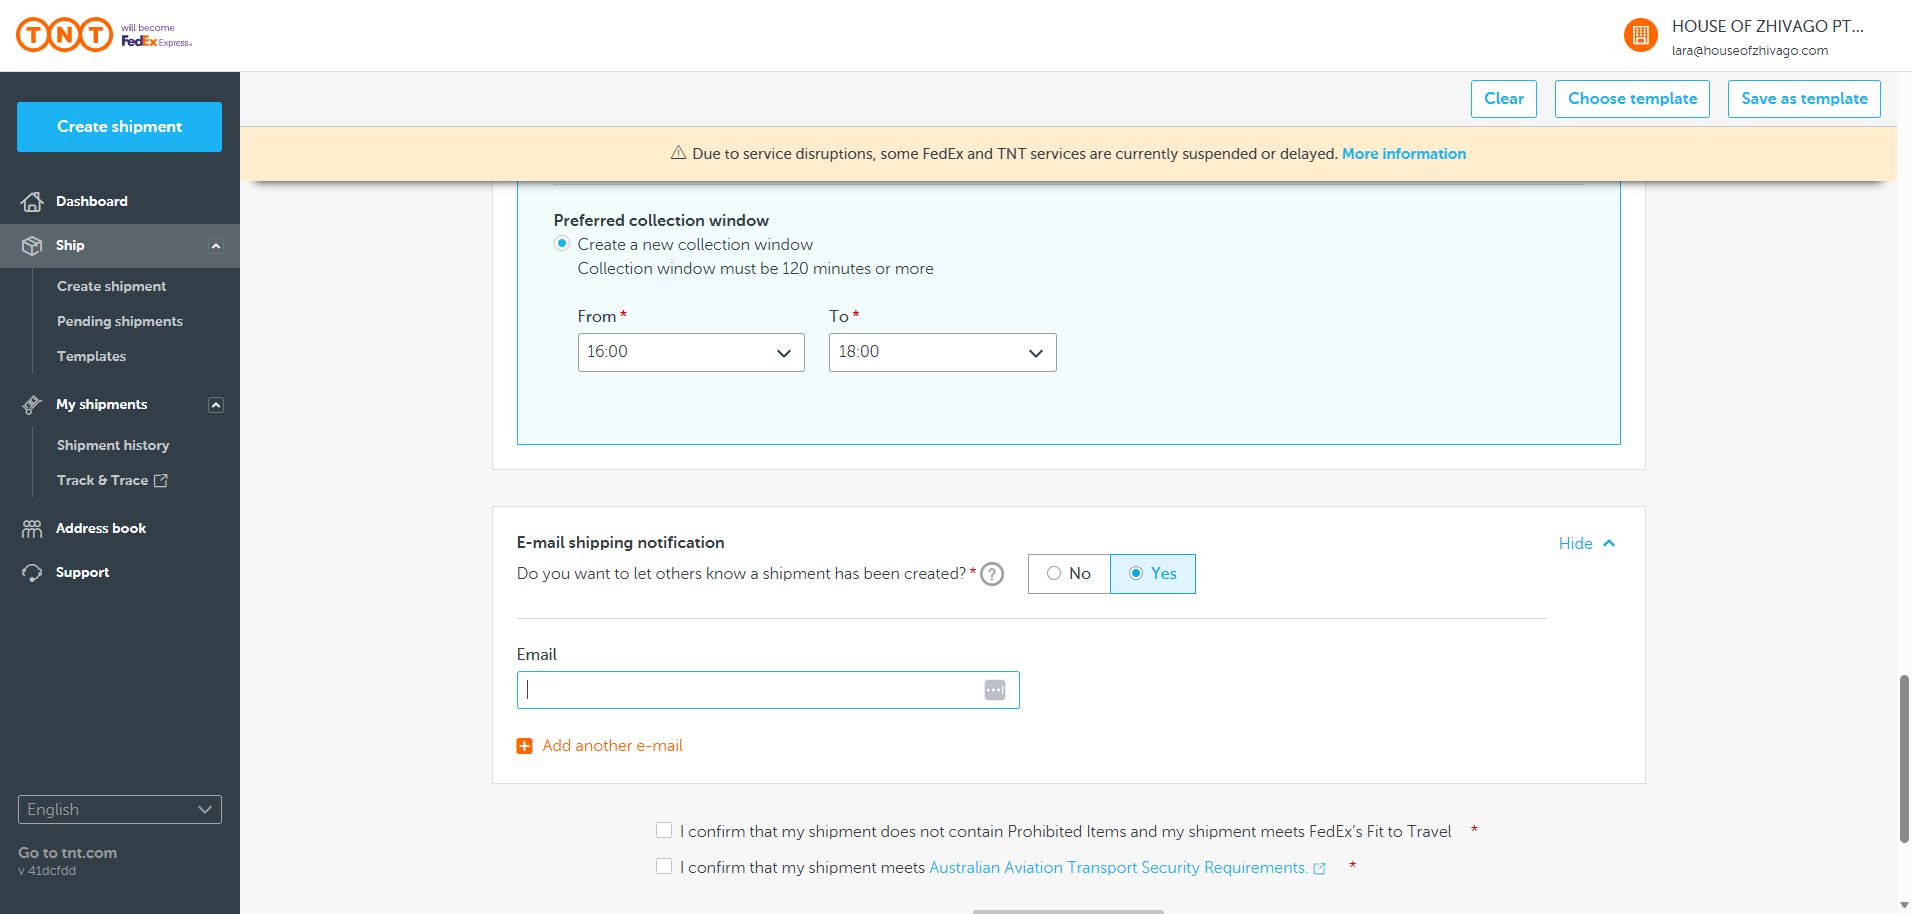
You can choose to notify others when a shipment has been created, if you wish.
You can include this in the email if you want to inform a customer or client.

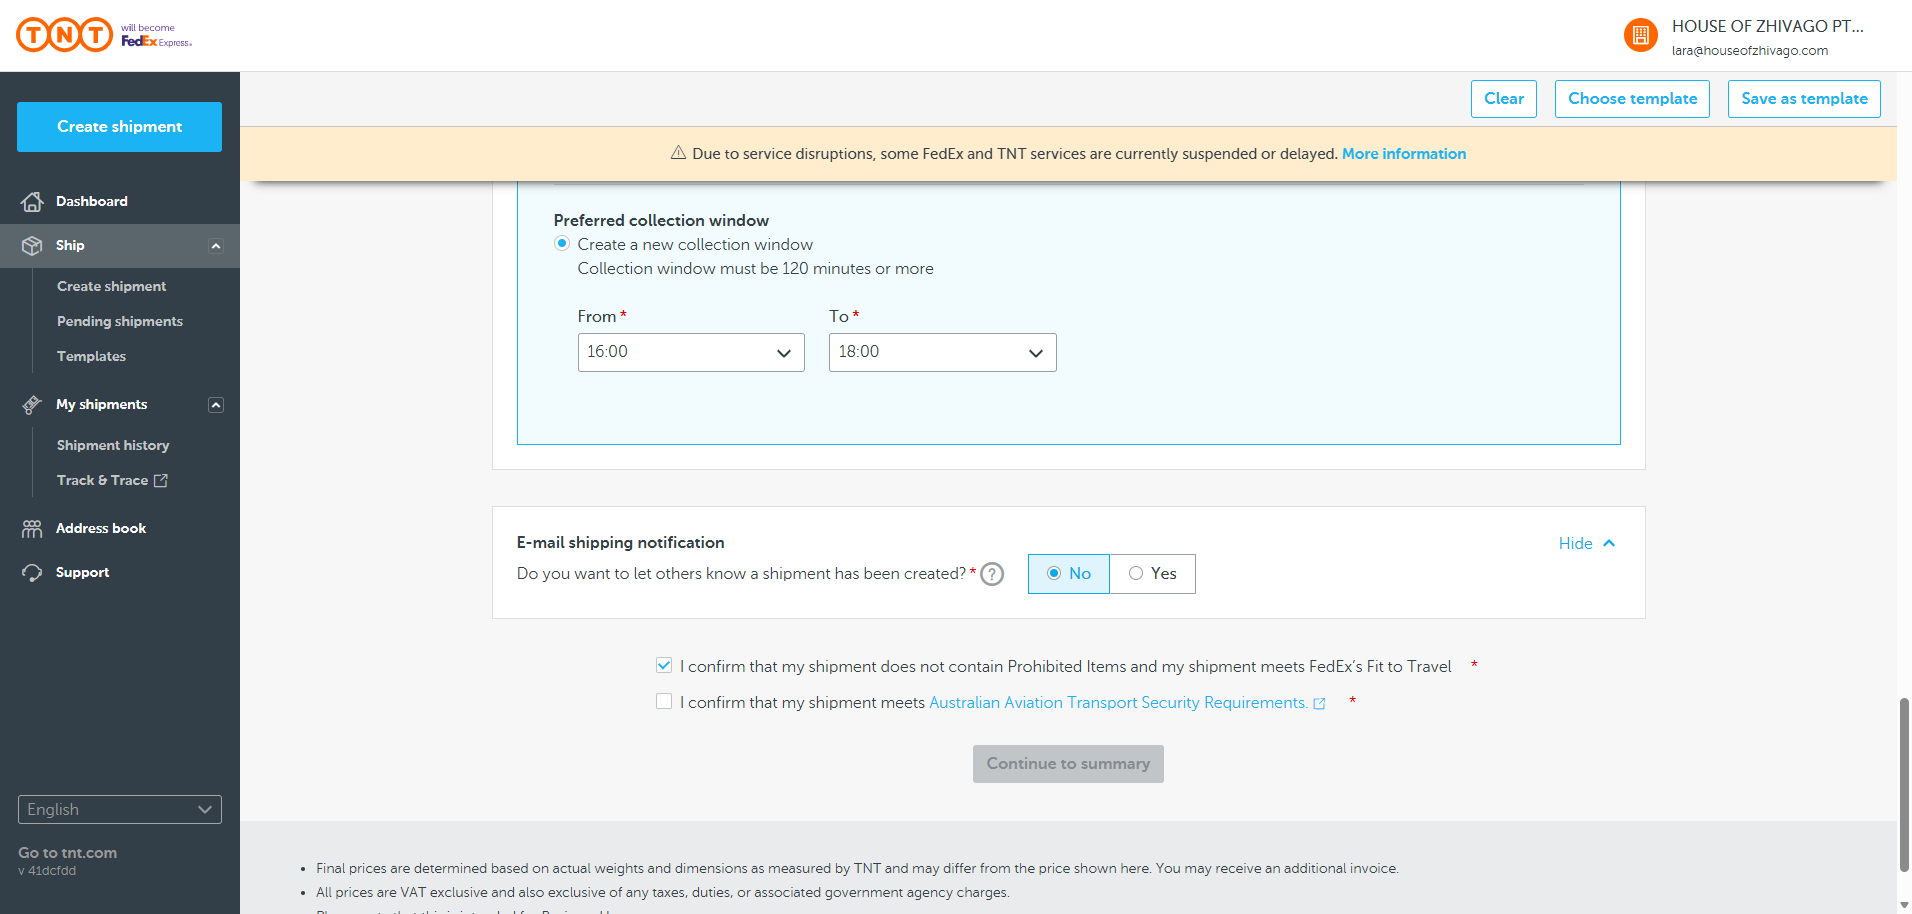
In this case, do not select these two boxes. Click "Continue to Summary AFTER WRITING IN DELIVERY INSTRUCTIONS WHEREVER THAT IT 'SIGNATURE REQUIRED'

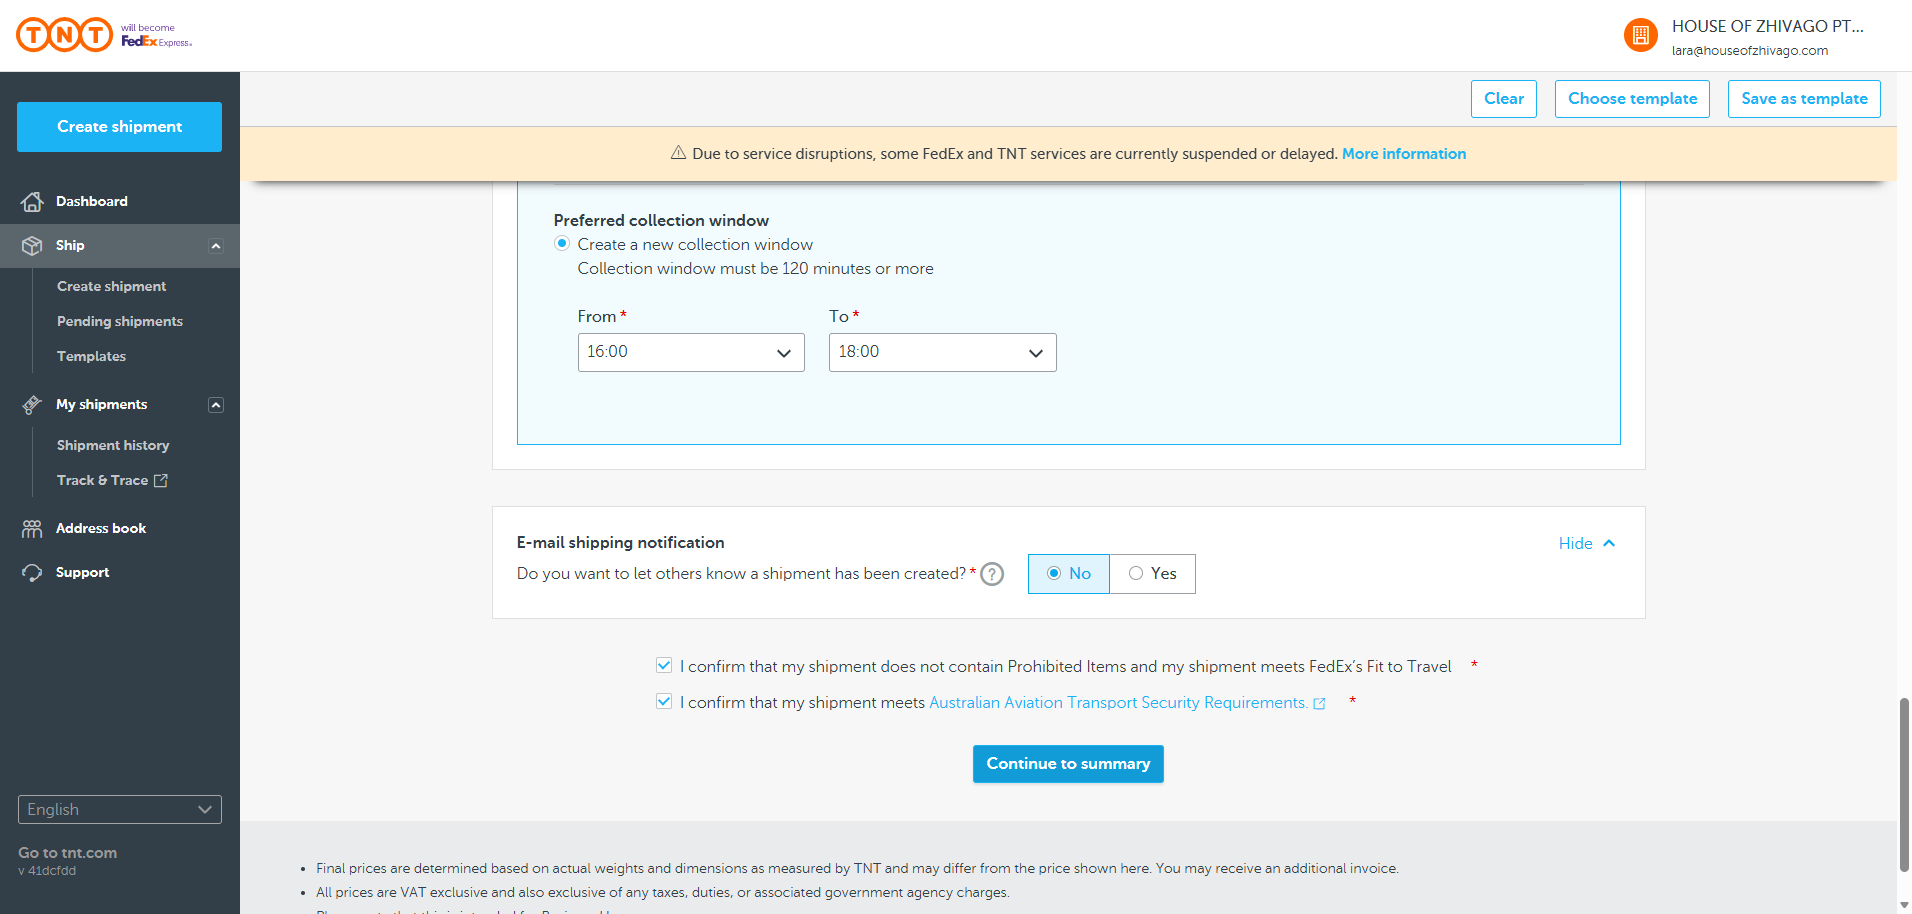
You’ve received confirmation. Now, finalize your shipment.
You can give the pickup reference number and booking number to others if you want them to call TNT and arrange their own pickup.
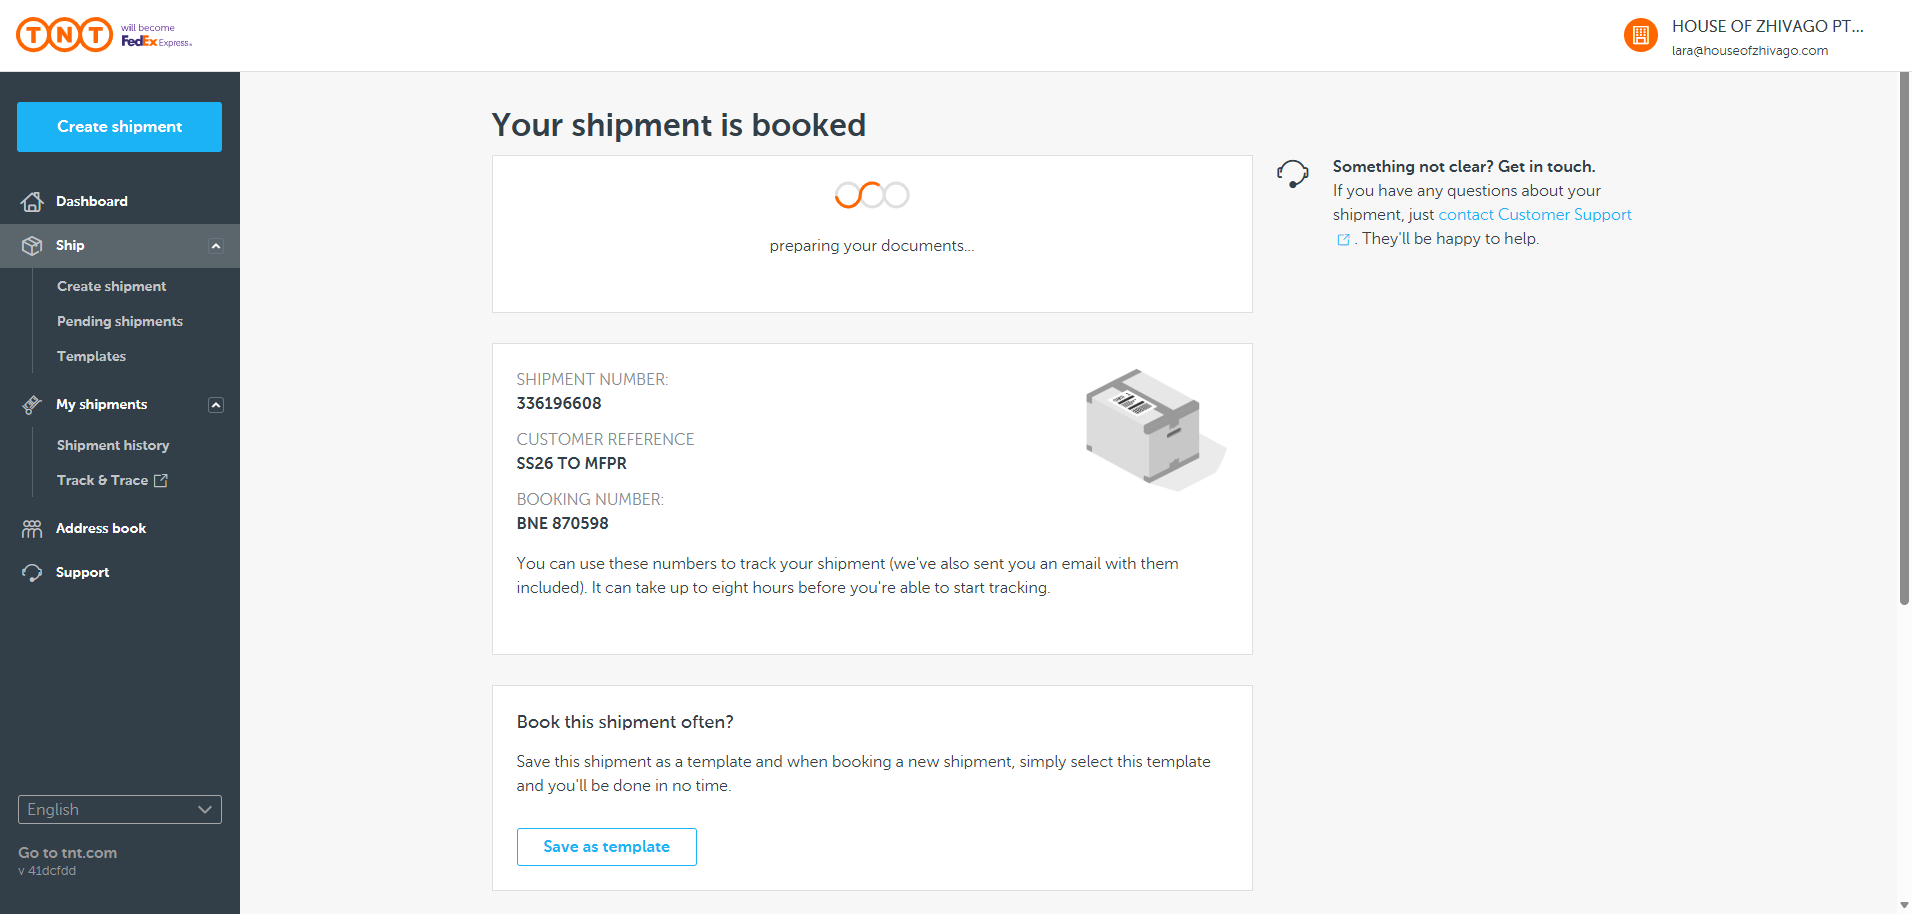
For example, if you give the PR in Sydney a shipping label, they can call and book the pickup themselves using this booking number.
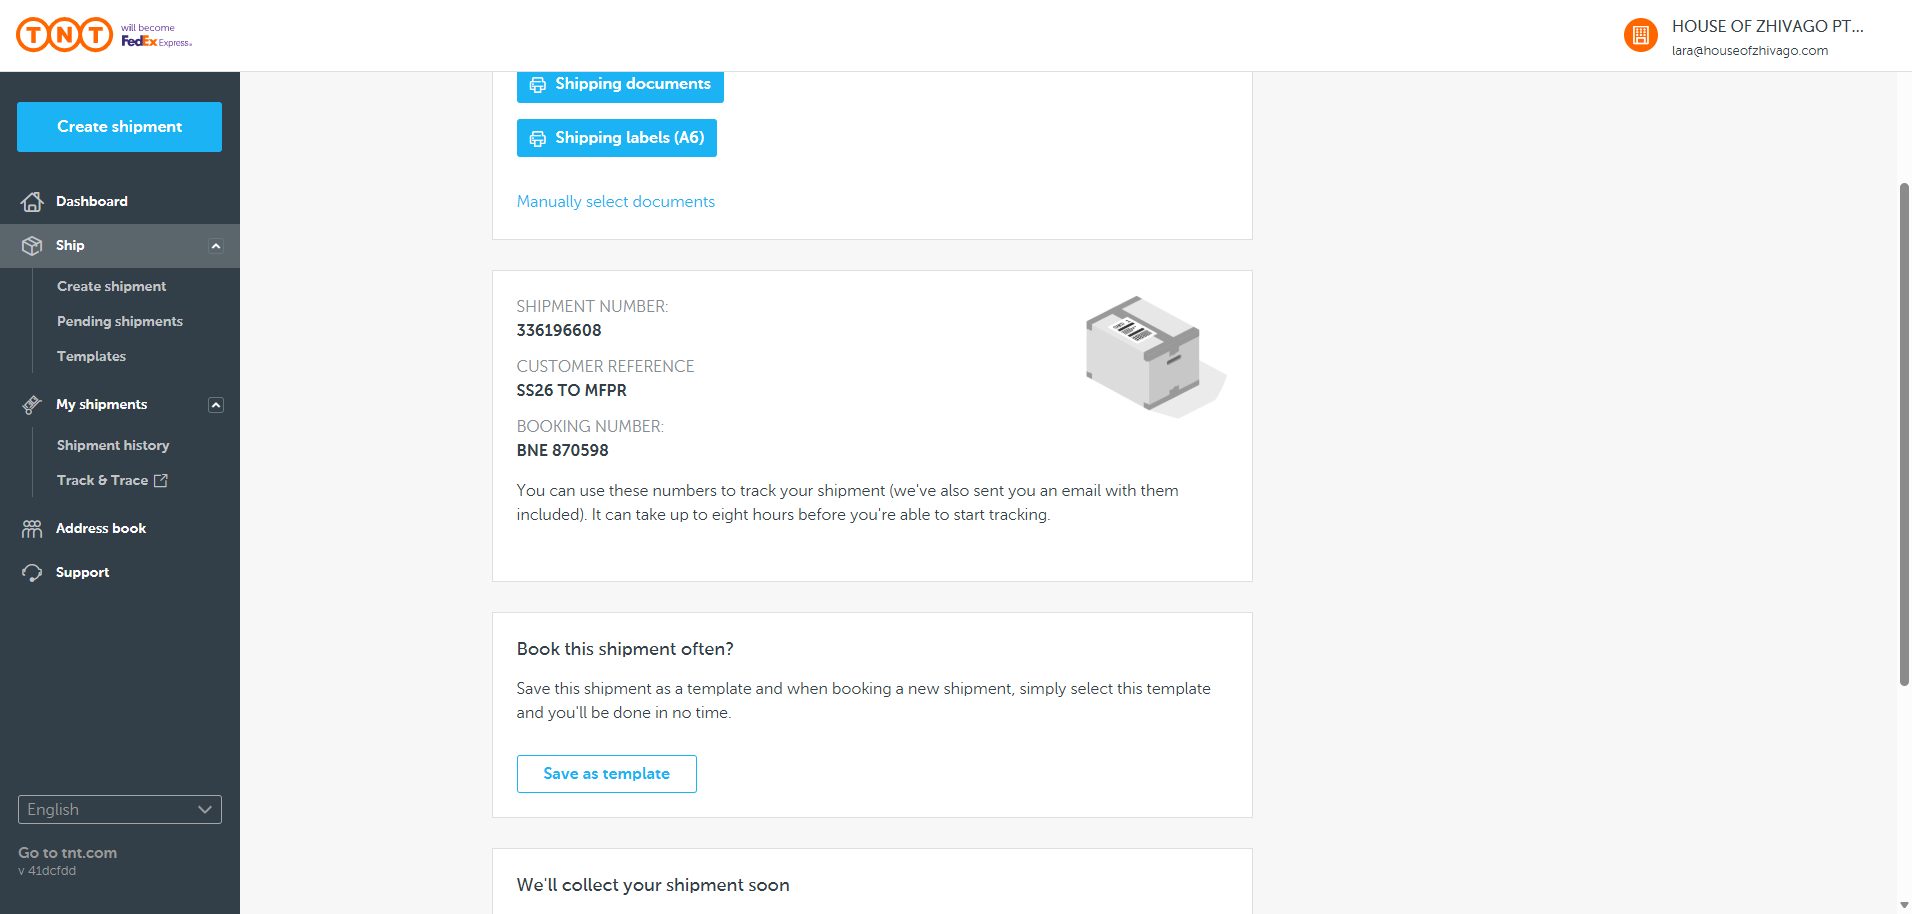
Now, we just need to print the A6 shipping labels.
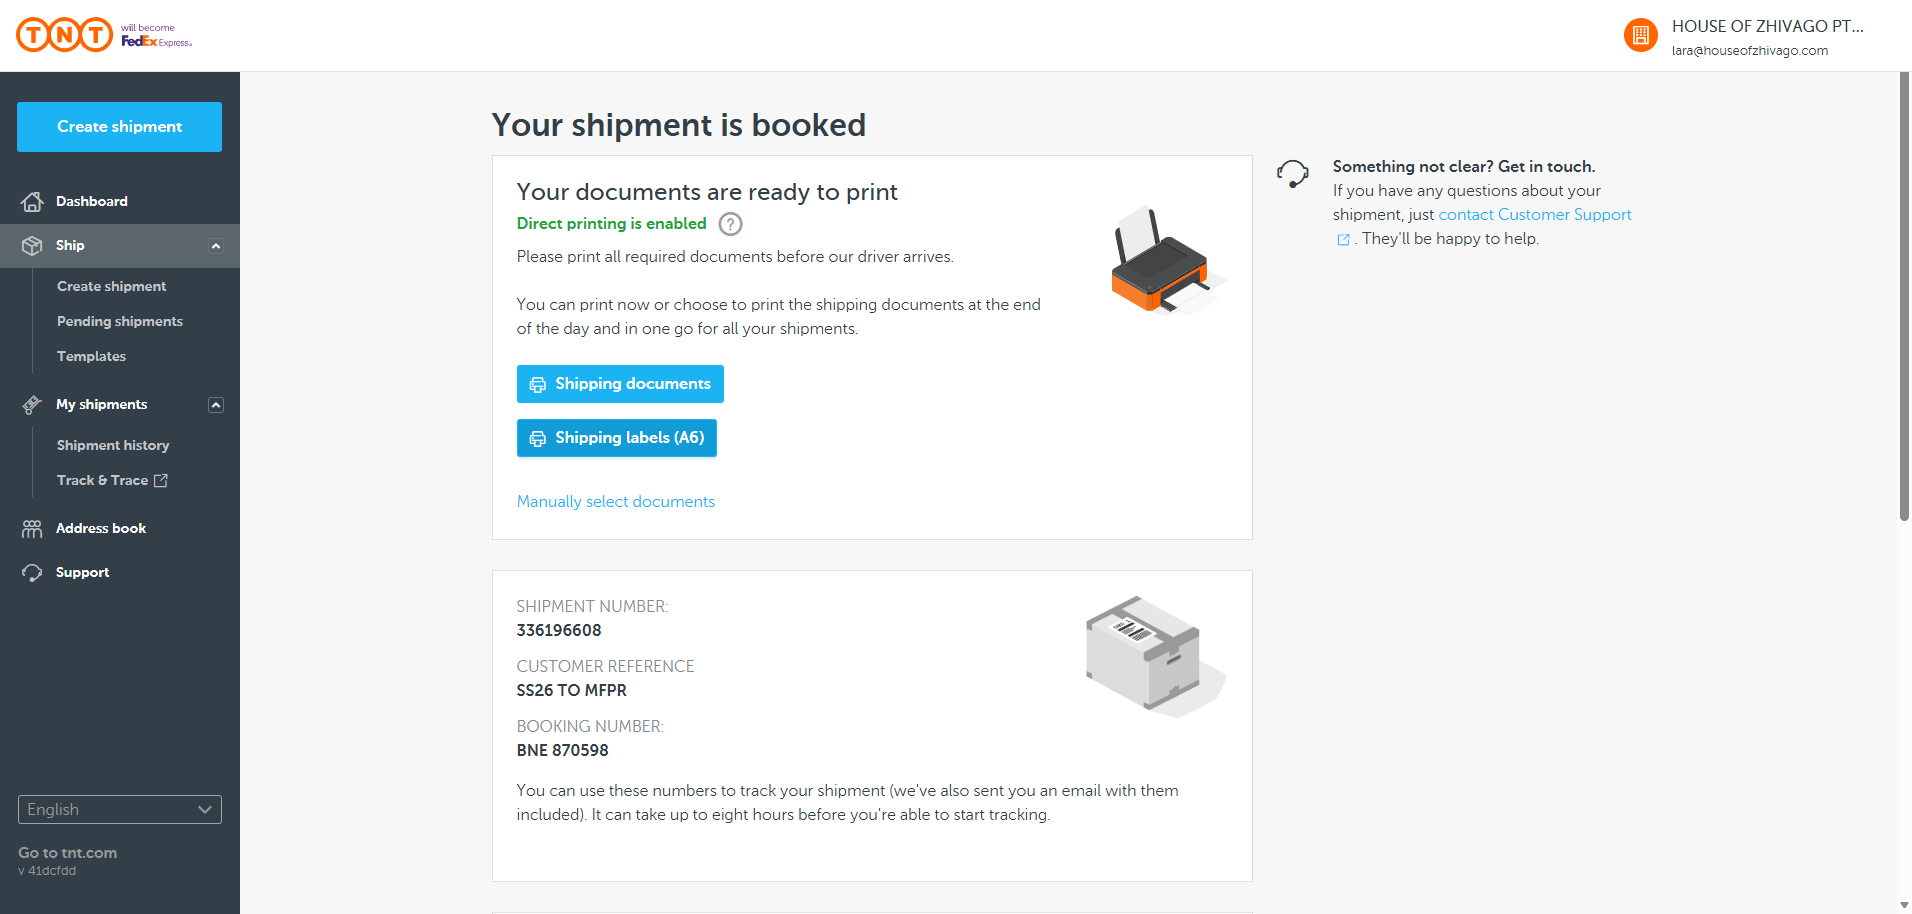
When printing, make sure to select landscape mode. This will prevent the labels from printing too large. Attach the labels to the box. After labeling, write the tracking number on the outside in case the labels are removed.